Cedar Wallet
Create your Pocket and try a dapp
This tutorial walks through the first Cedar Wallet flow: create or open your account, fund your Pocket with test USDC, activate Pocket, connect Cedar to Superbridge, and bridge 1 test USDC from Sepolia to OP Sepolia.
Pocket is your everyday Cedar wallet. It can receive tokens before activation, but send and dapp actions stay blocked until you activate it.
You will use test USDC on test networks. Test tokens have no real-world value. For supported Cedar actions in this demo, Cedar sponsors the network fees, so you should not need testnet ETH inside Cedar.
What you will do
- Open Cedar.
- Create or open your account with a passkey.
- Copy your Pocket address.
- Request Sepolia test USDC.
- Activate Pocket.
- Sign in to the Cedar extension.
- Connect Cedar to Superbridge.
- Bridge 1 test USDC from Sepolia to OP Sepolia.
Before you start
Use a desktop browser with the Cedar extension installed and enabled in the same browser profile. Mobile can handle some passkey prompts, but the extension and Superbridge steps need the browser where the extension is installed.
You need:
- A desktop browser that can use the Cedar extension.
- A device or browser that can create a passkey, such as Face ID, Touch ID, Windows Hello, Android screen lock, or a password manager.
- The Cedar extension installed in the same browser profile you will use for Superbridge.
You do not need:
- A seed phrase.
- A separate browser wallet.
- Testnet ETH for Cedar gas.
- Real money.
Step 1: Open Cedar
Go to https://cedar-wallet.dev.thieu.dev/.
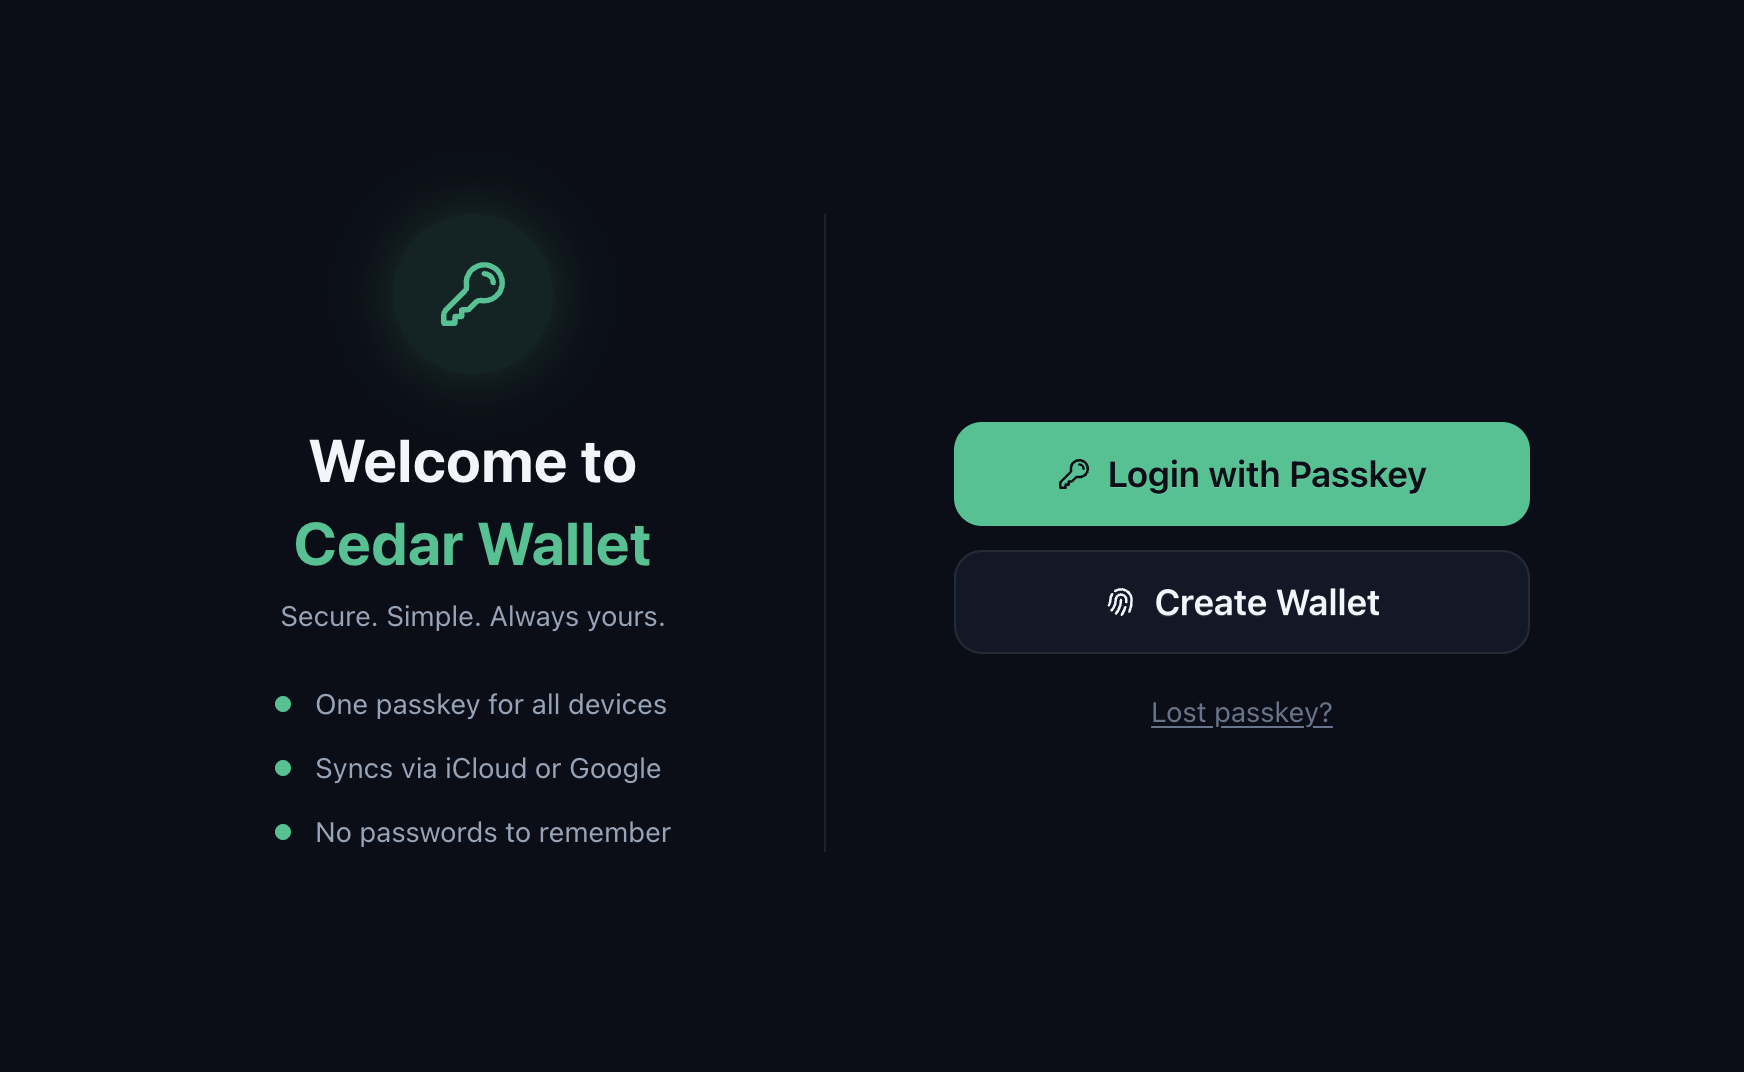
If this is your first time using Cedar, choose Create Wallet. If you already created a Cedar account on this device, choose Login with Passkey.
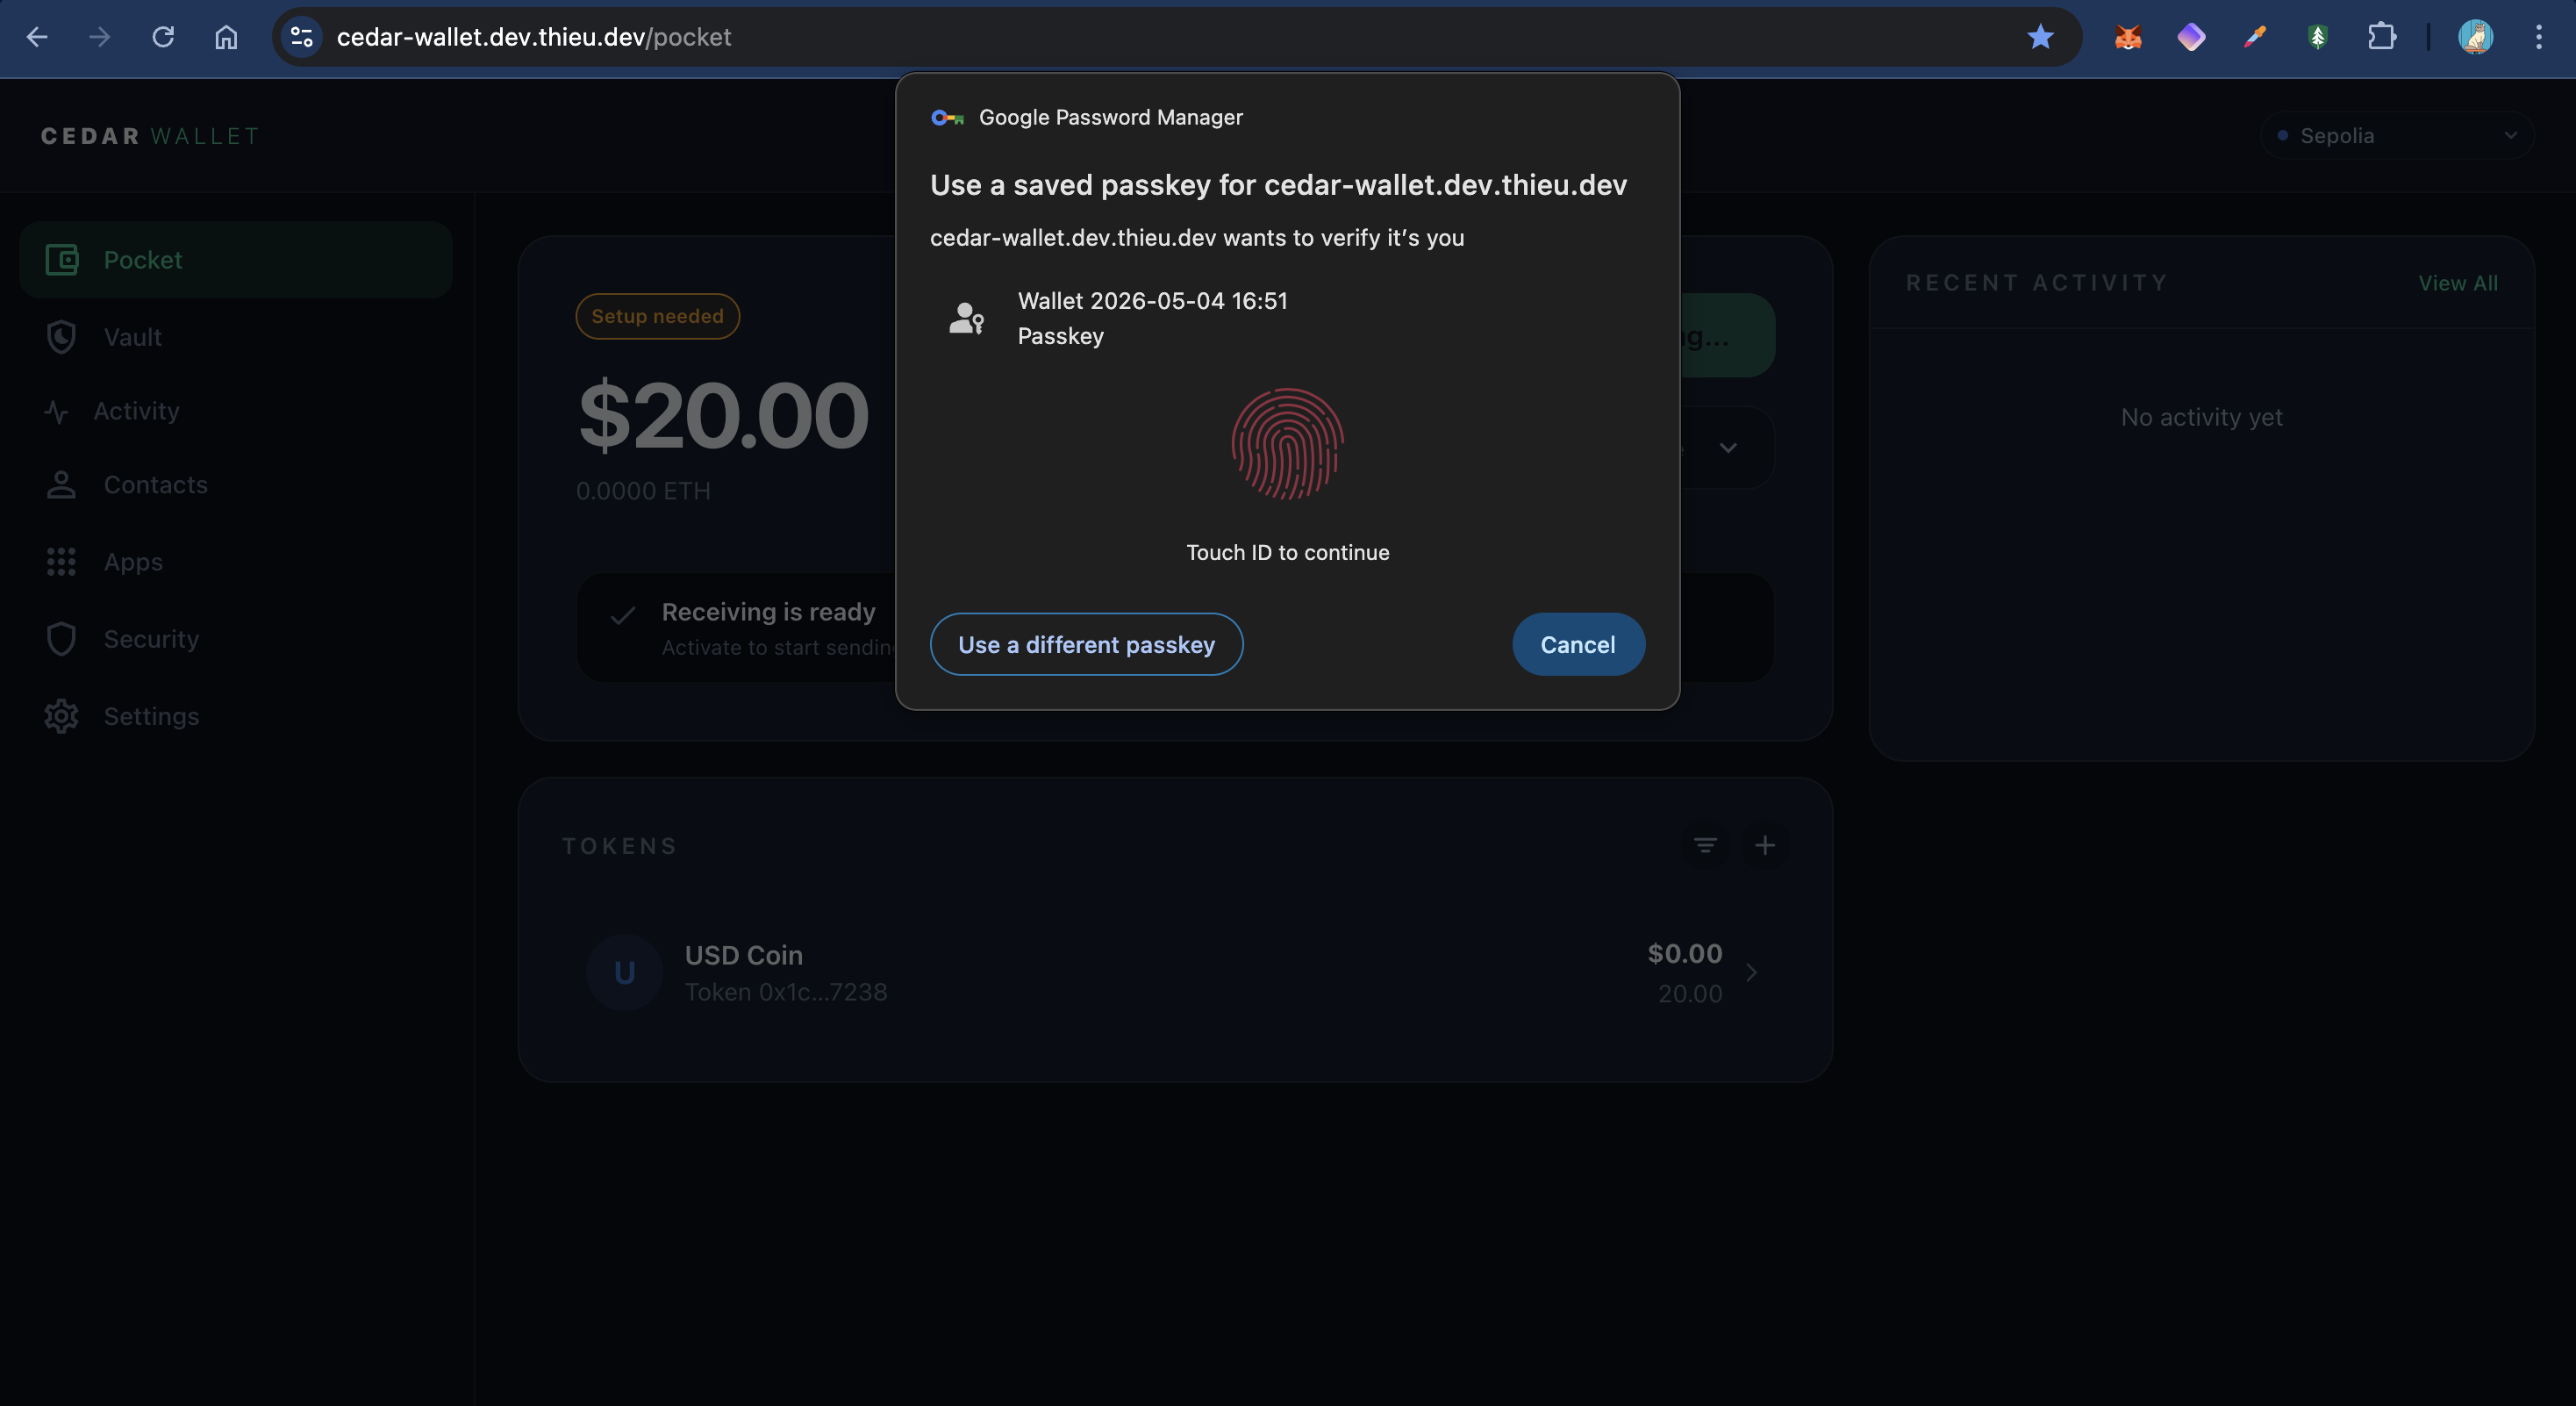
When your browser asks to use a passkey, allow it. Cedar uses your passkey so you can sign in and approve actions without managing a seed phrase.
Step 2: Create or open your account
Follow your device's passkey prompt. Depending on your setup, this may use Face ID, Touch ID, your screen lock, Windows Hello, or your browser password manager.
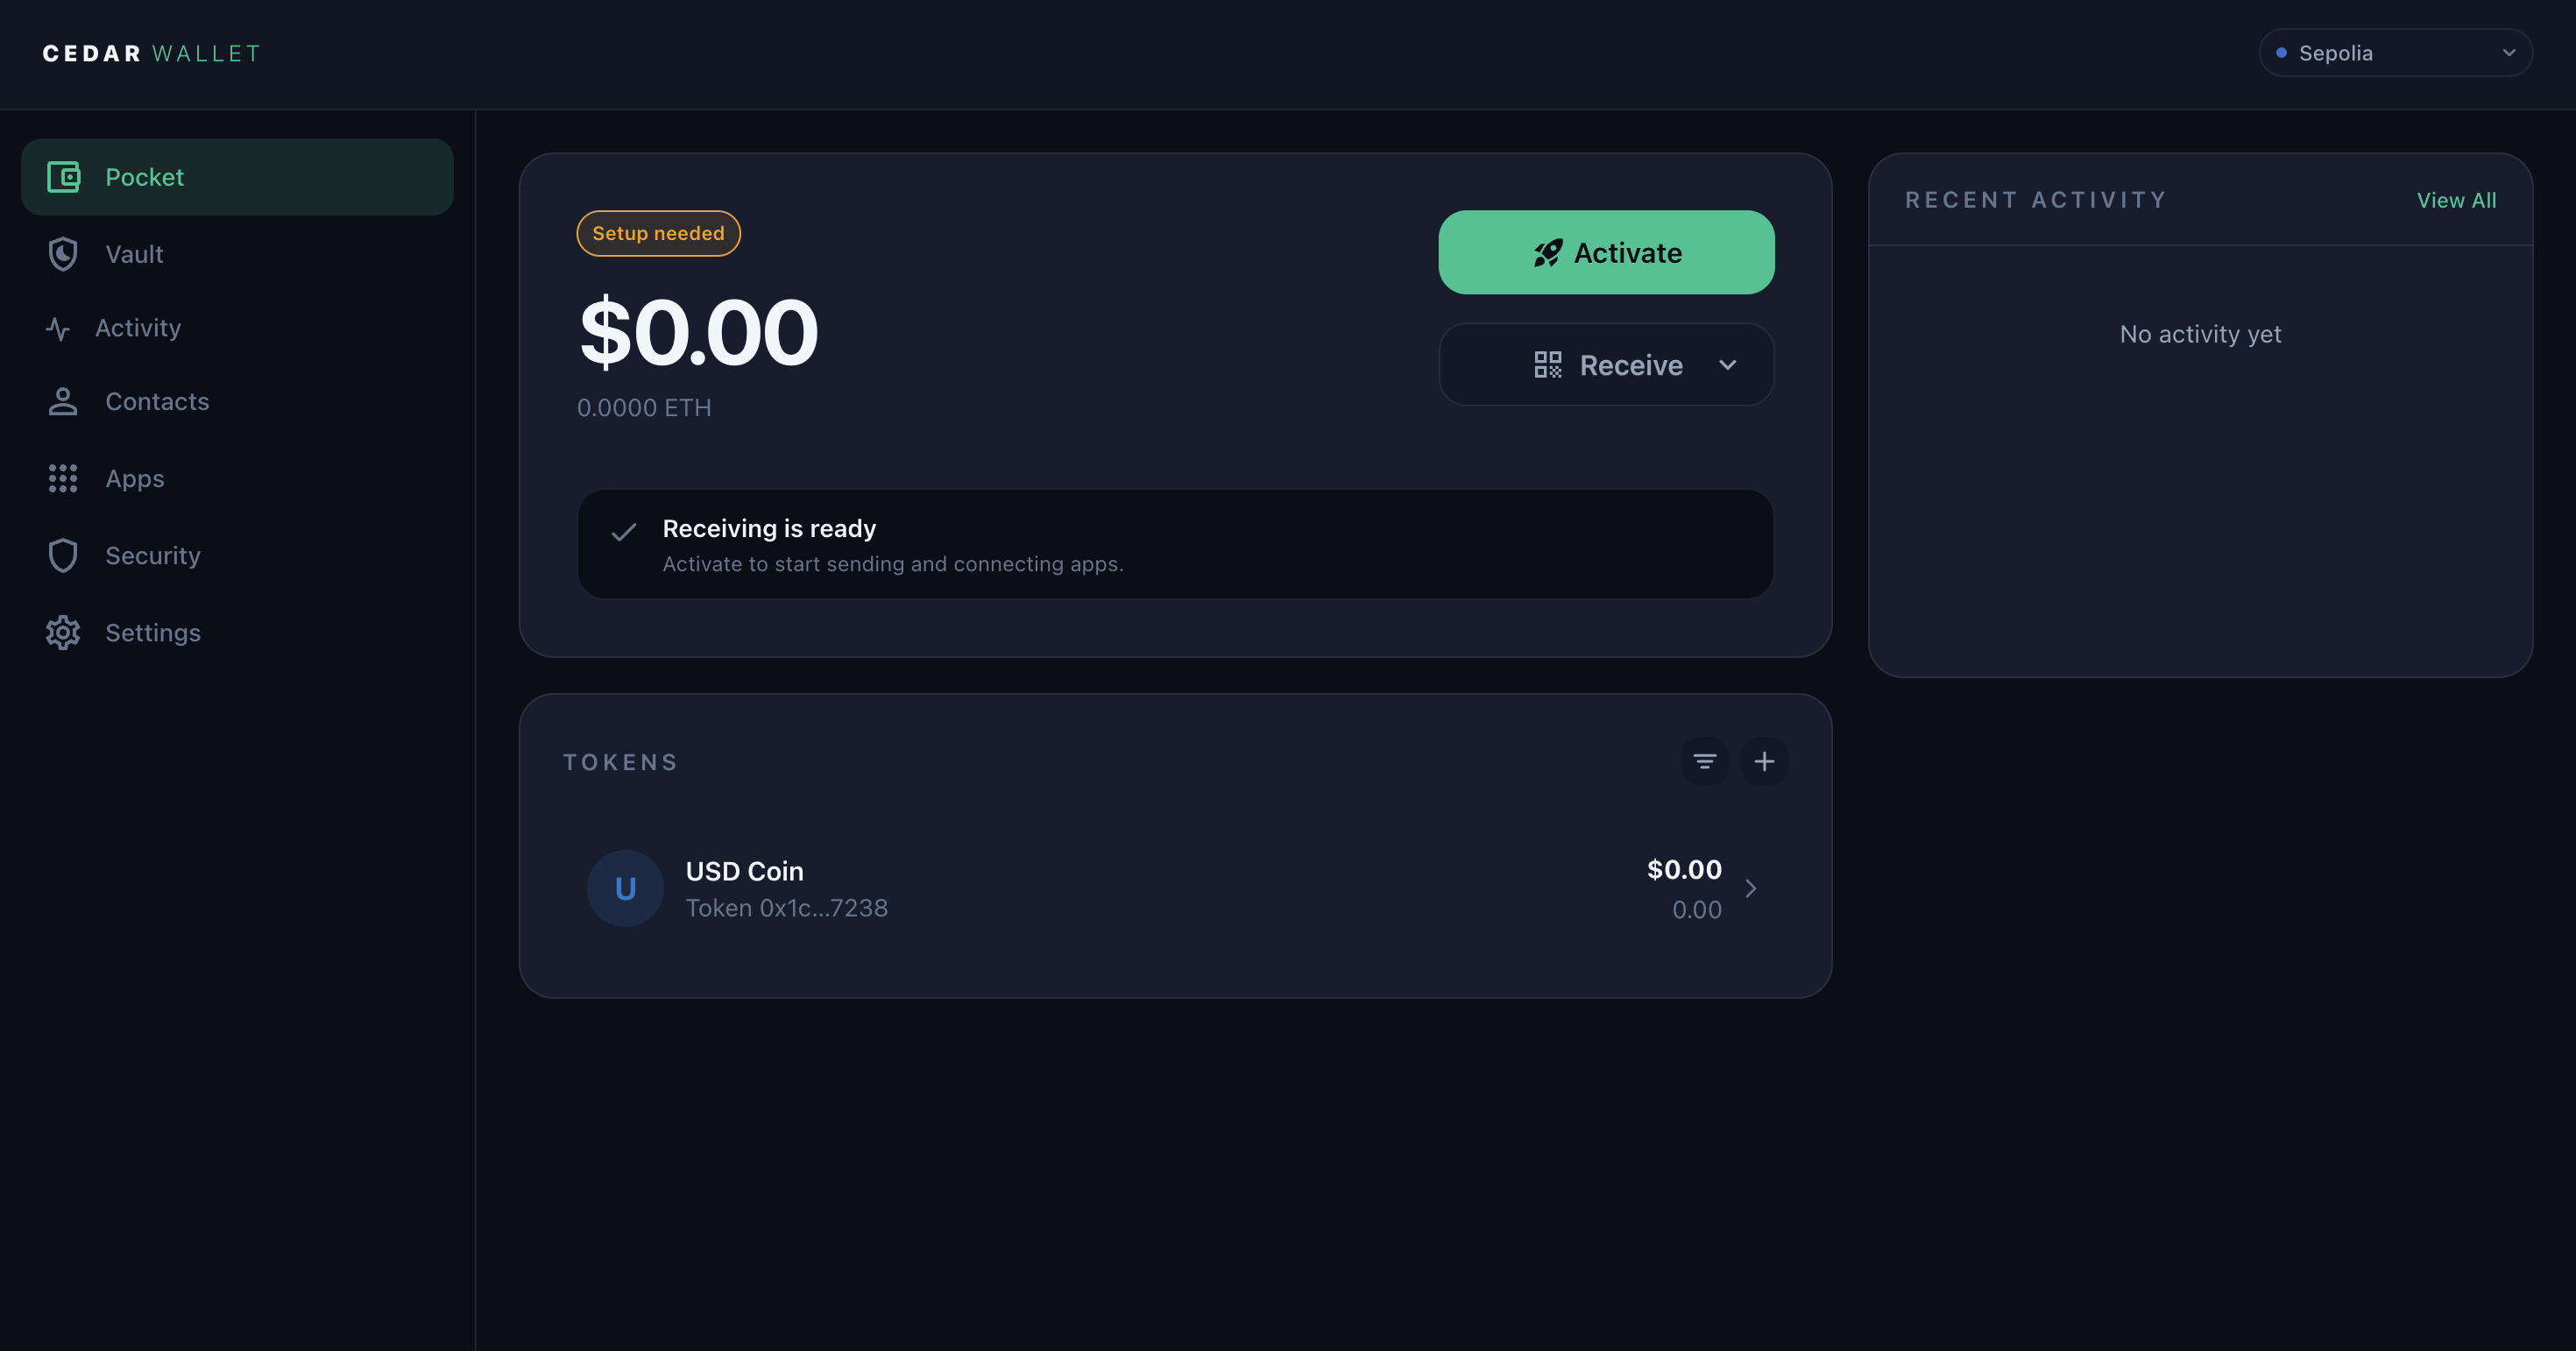
When the passkey step finishes, Cedar opens your account and shows Pocket.
If you cancel the passkey prompt, start the same action again. No funds move until you confirm an action.
Step 3: Copy your Pocket address
In Cedar, choose Receive, then copy your Pocket address. It is the long address that starts with 0x.
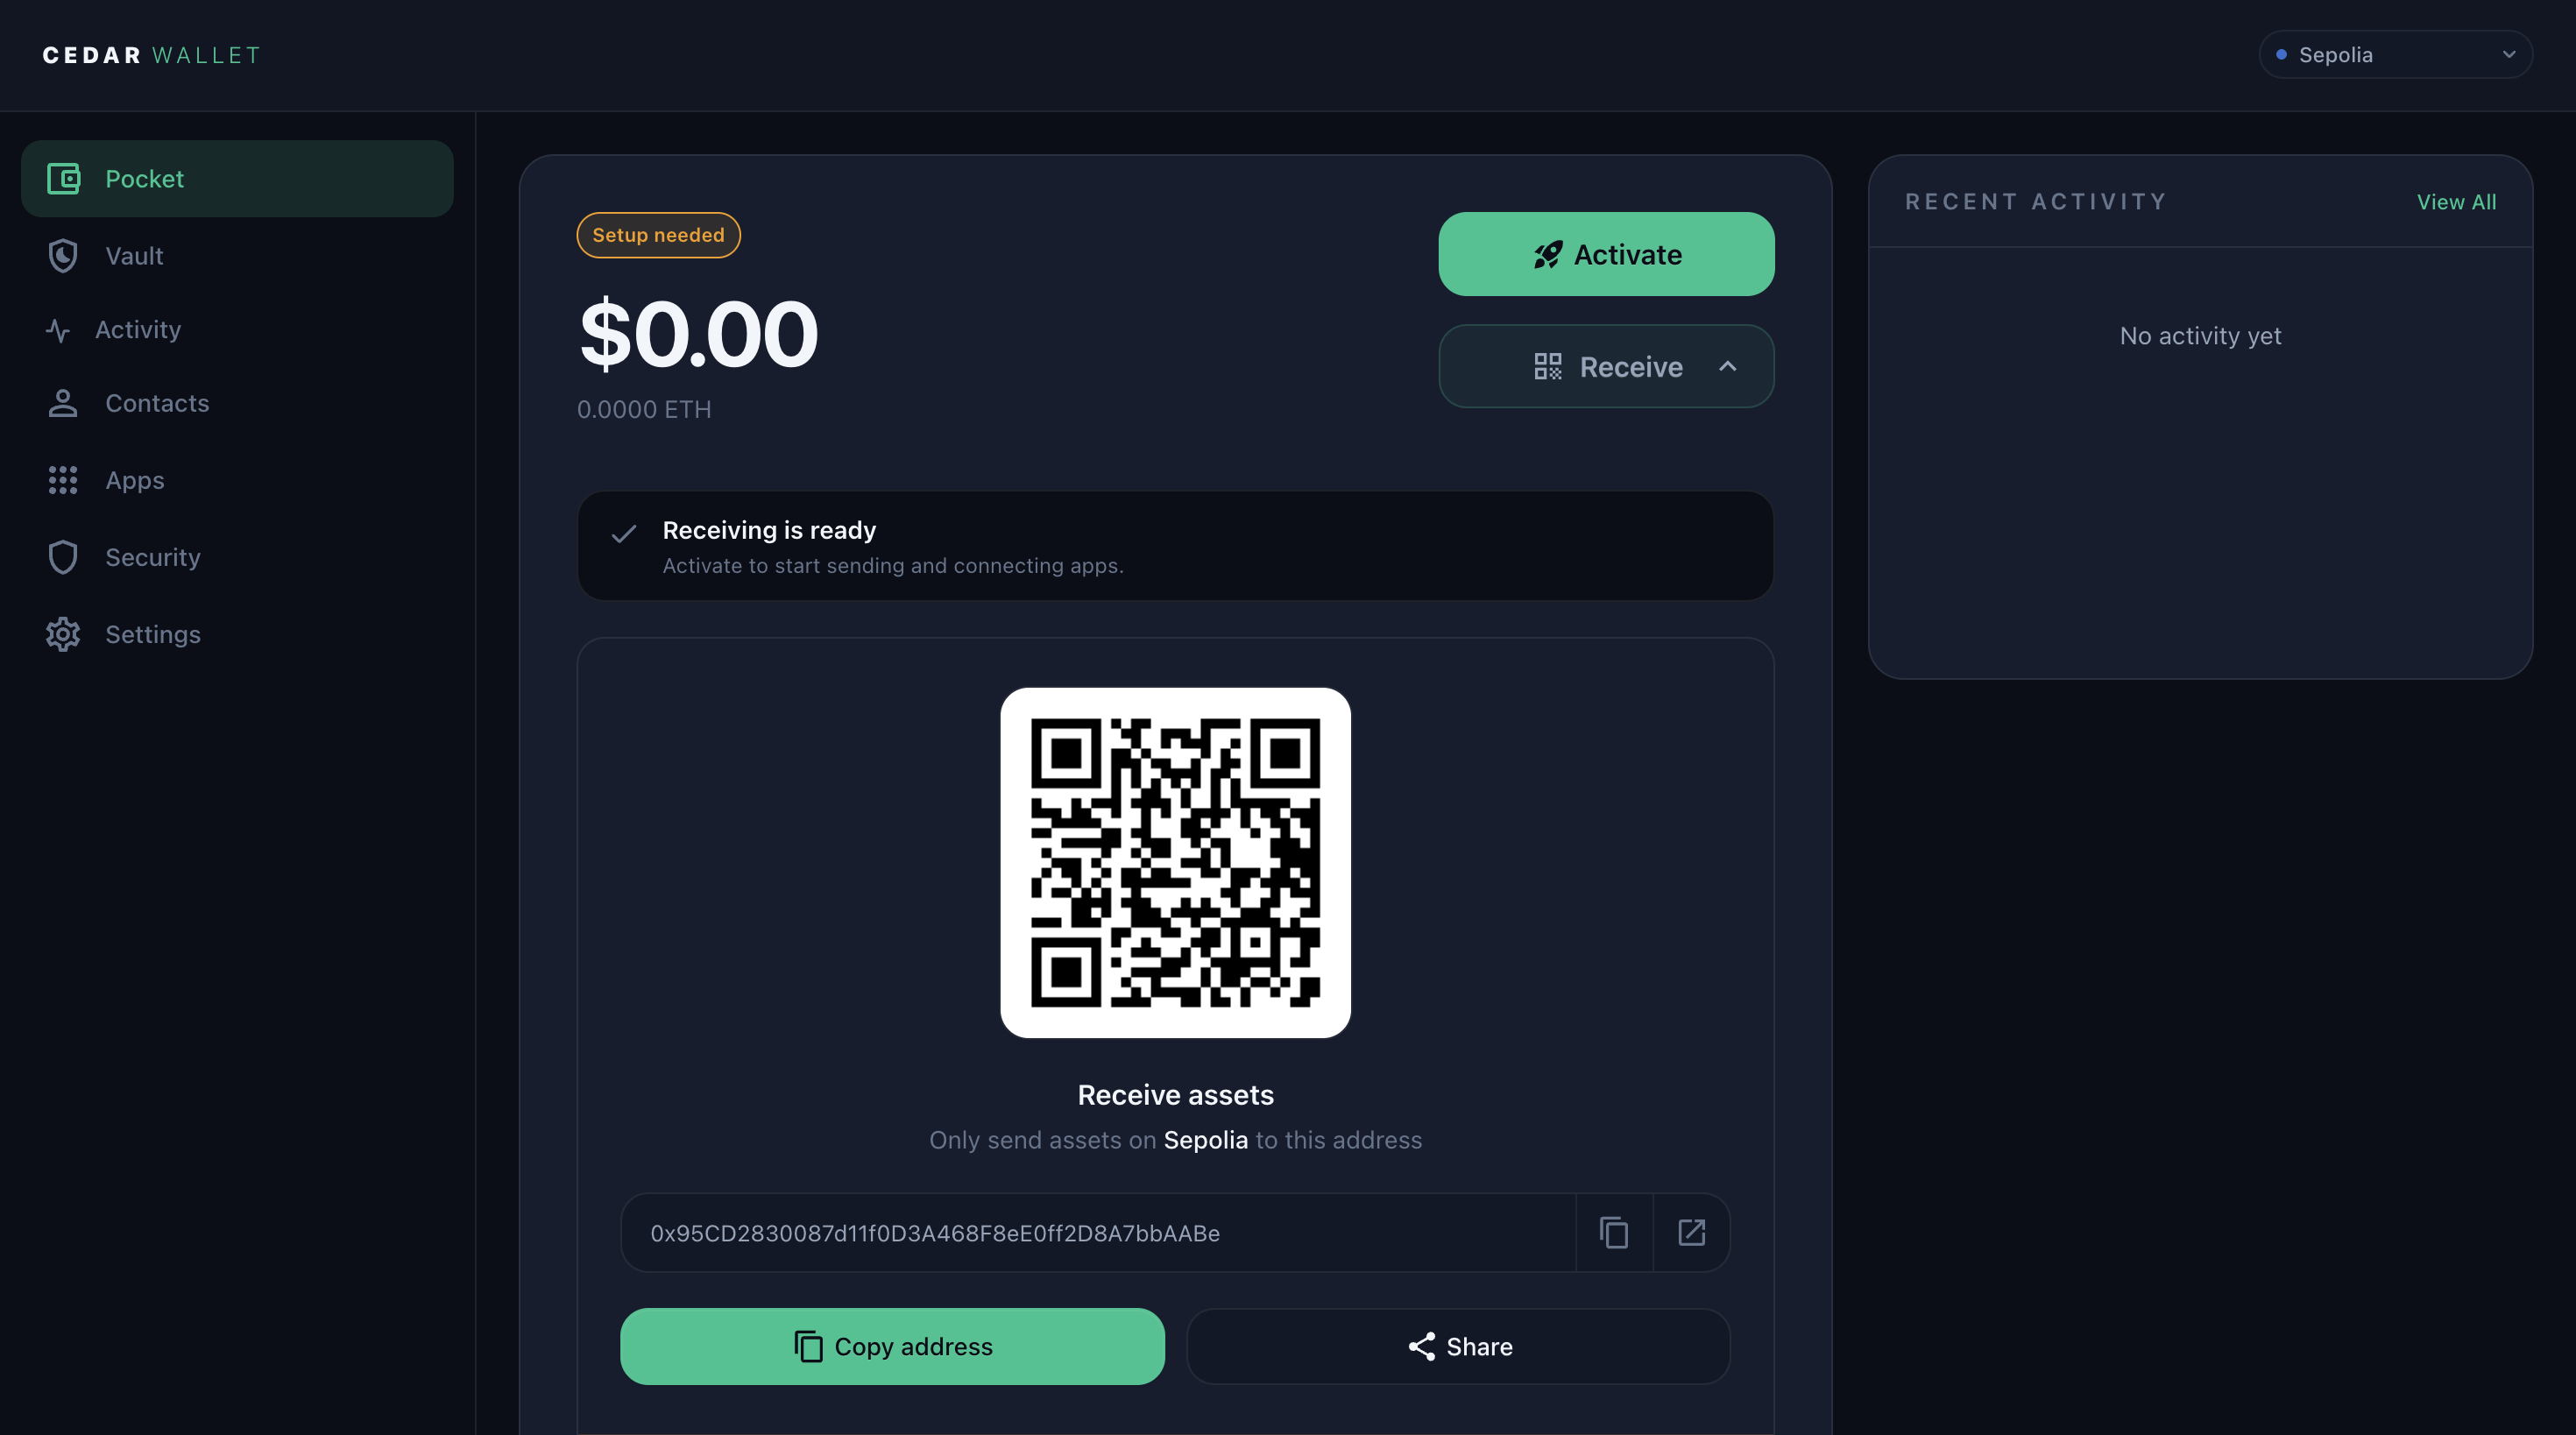
Keep Cedar open, or paste the address somewhere temporary. You will use it in the faucet.
Step 4: Fund your Pocket with test USDC
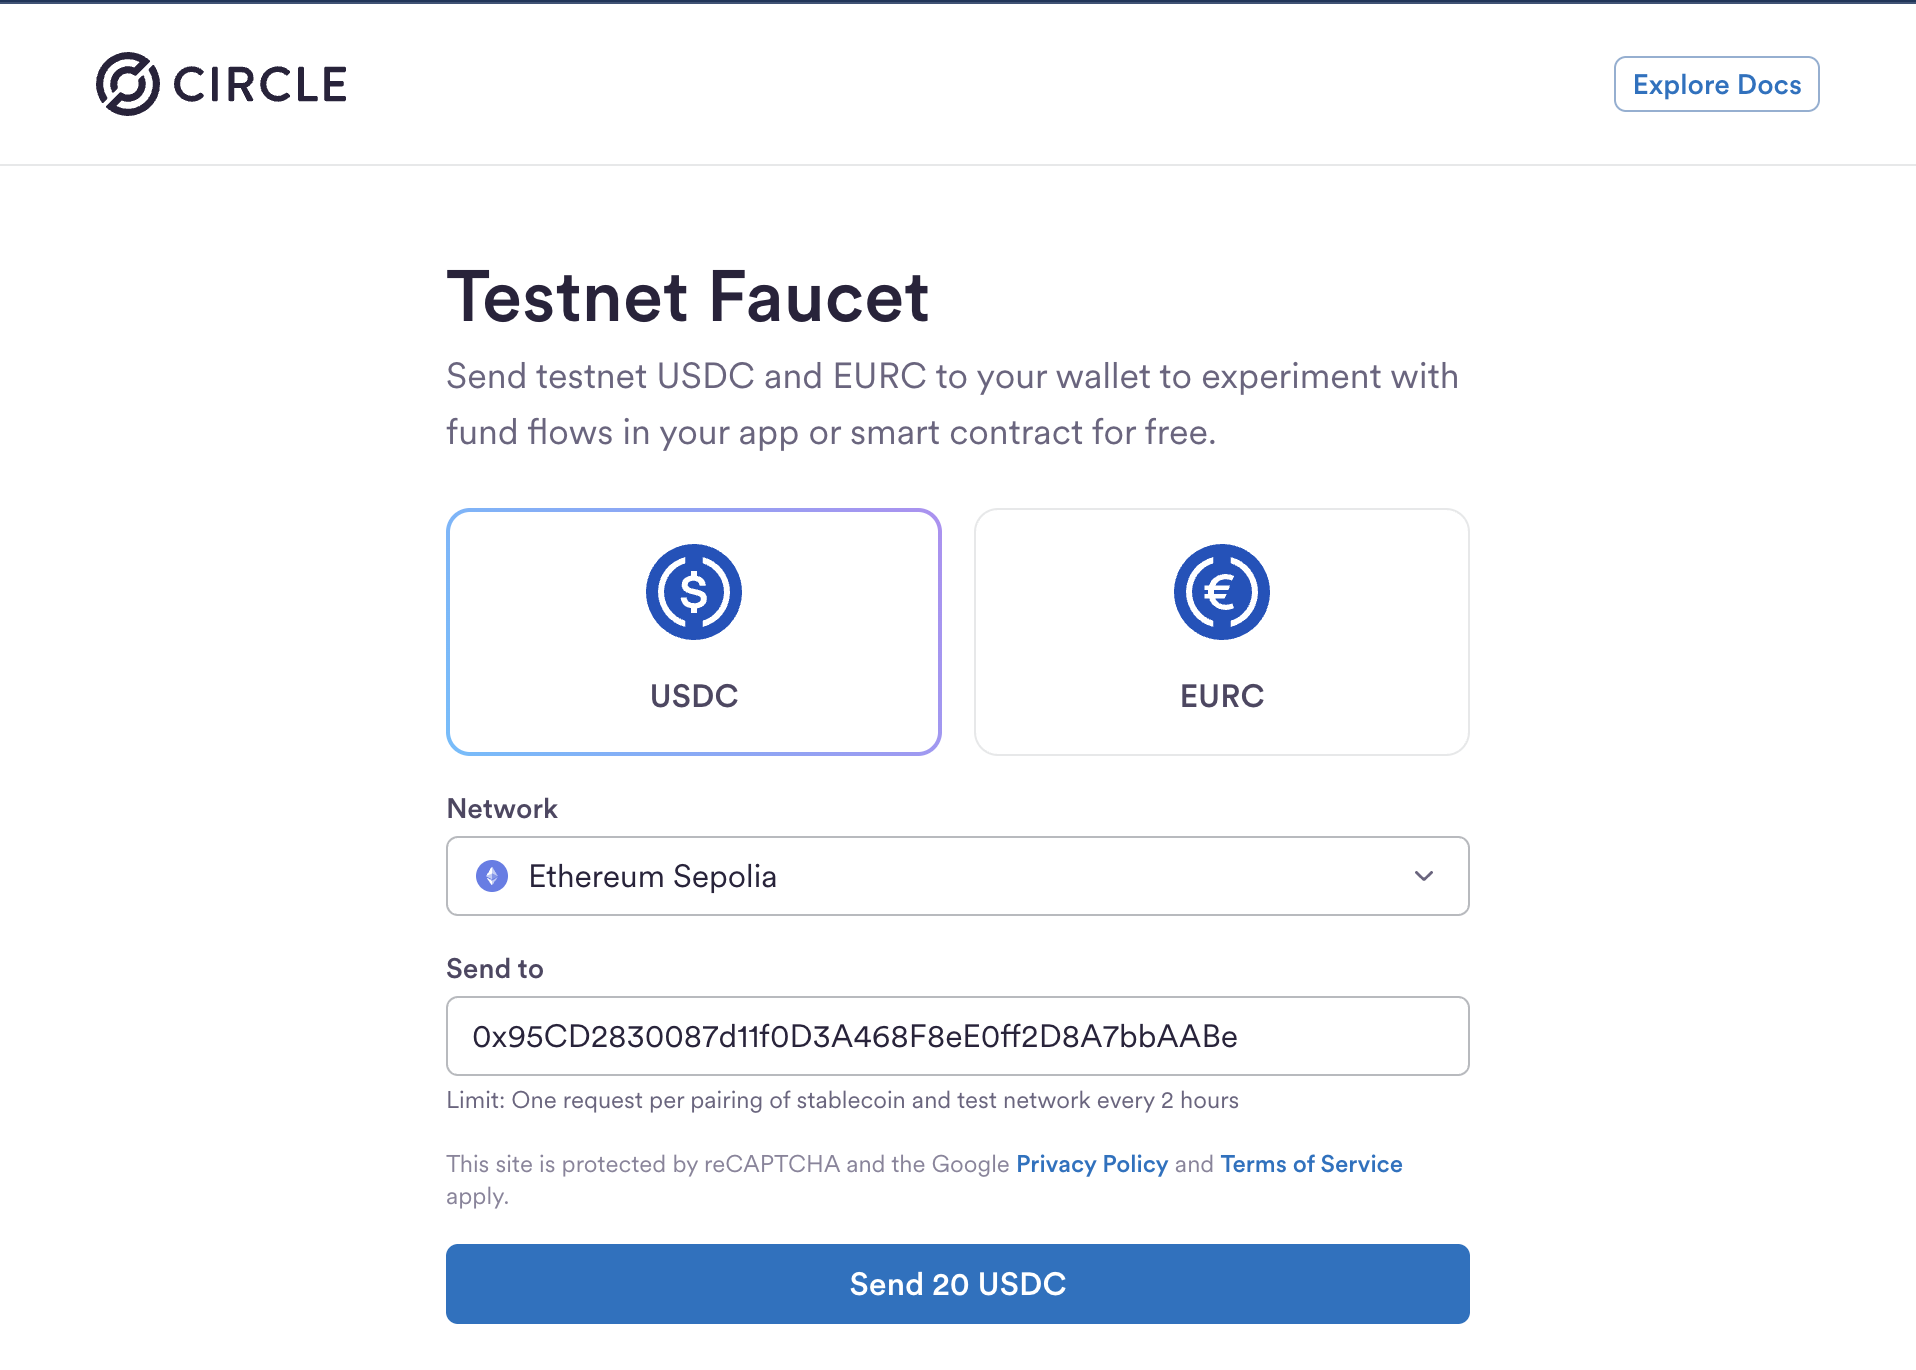
Open Settings in Cedar and choose USDC Faucet. This opens Circle's faucet at https://faucet.circle.com/.
On the faucet page:
- Choose
USDC. - Choose
Ethereum Sepoliaas the network. - Paste your Cedar Pocket address.
- Submit the faucet request.
If Circle says you have reached a faucet limit, wait and retry later.
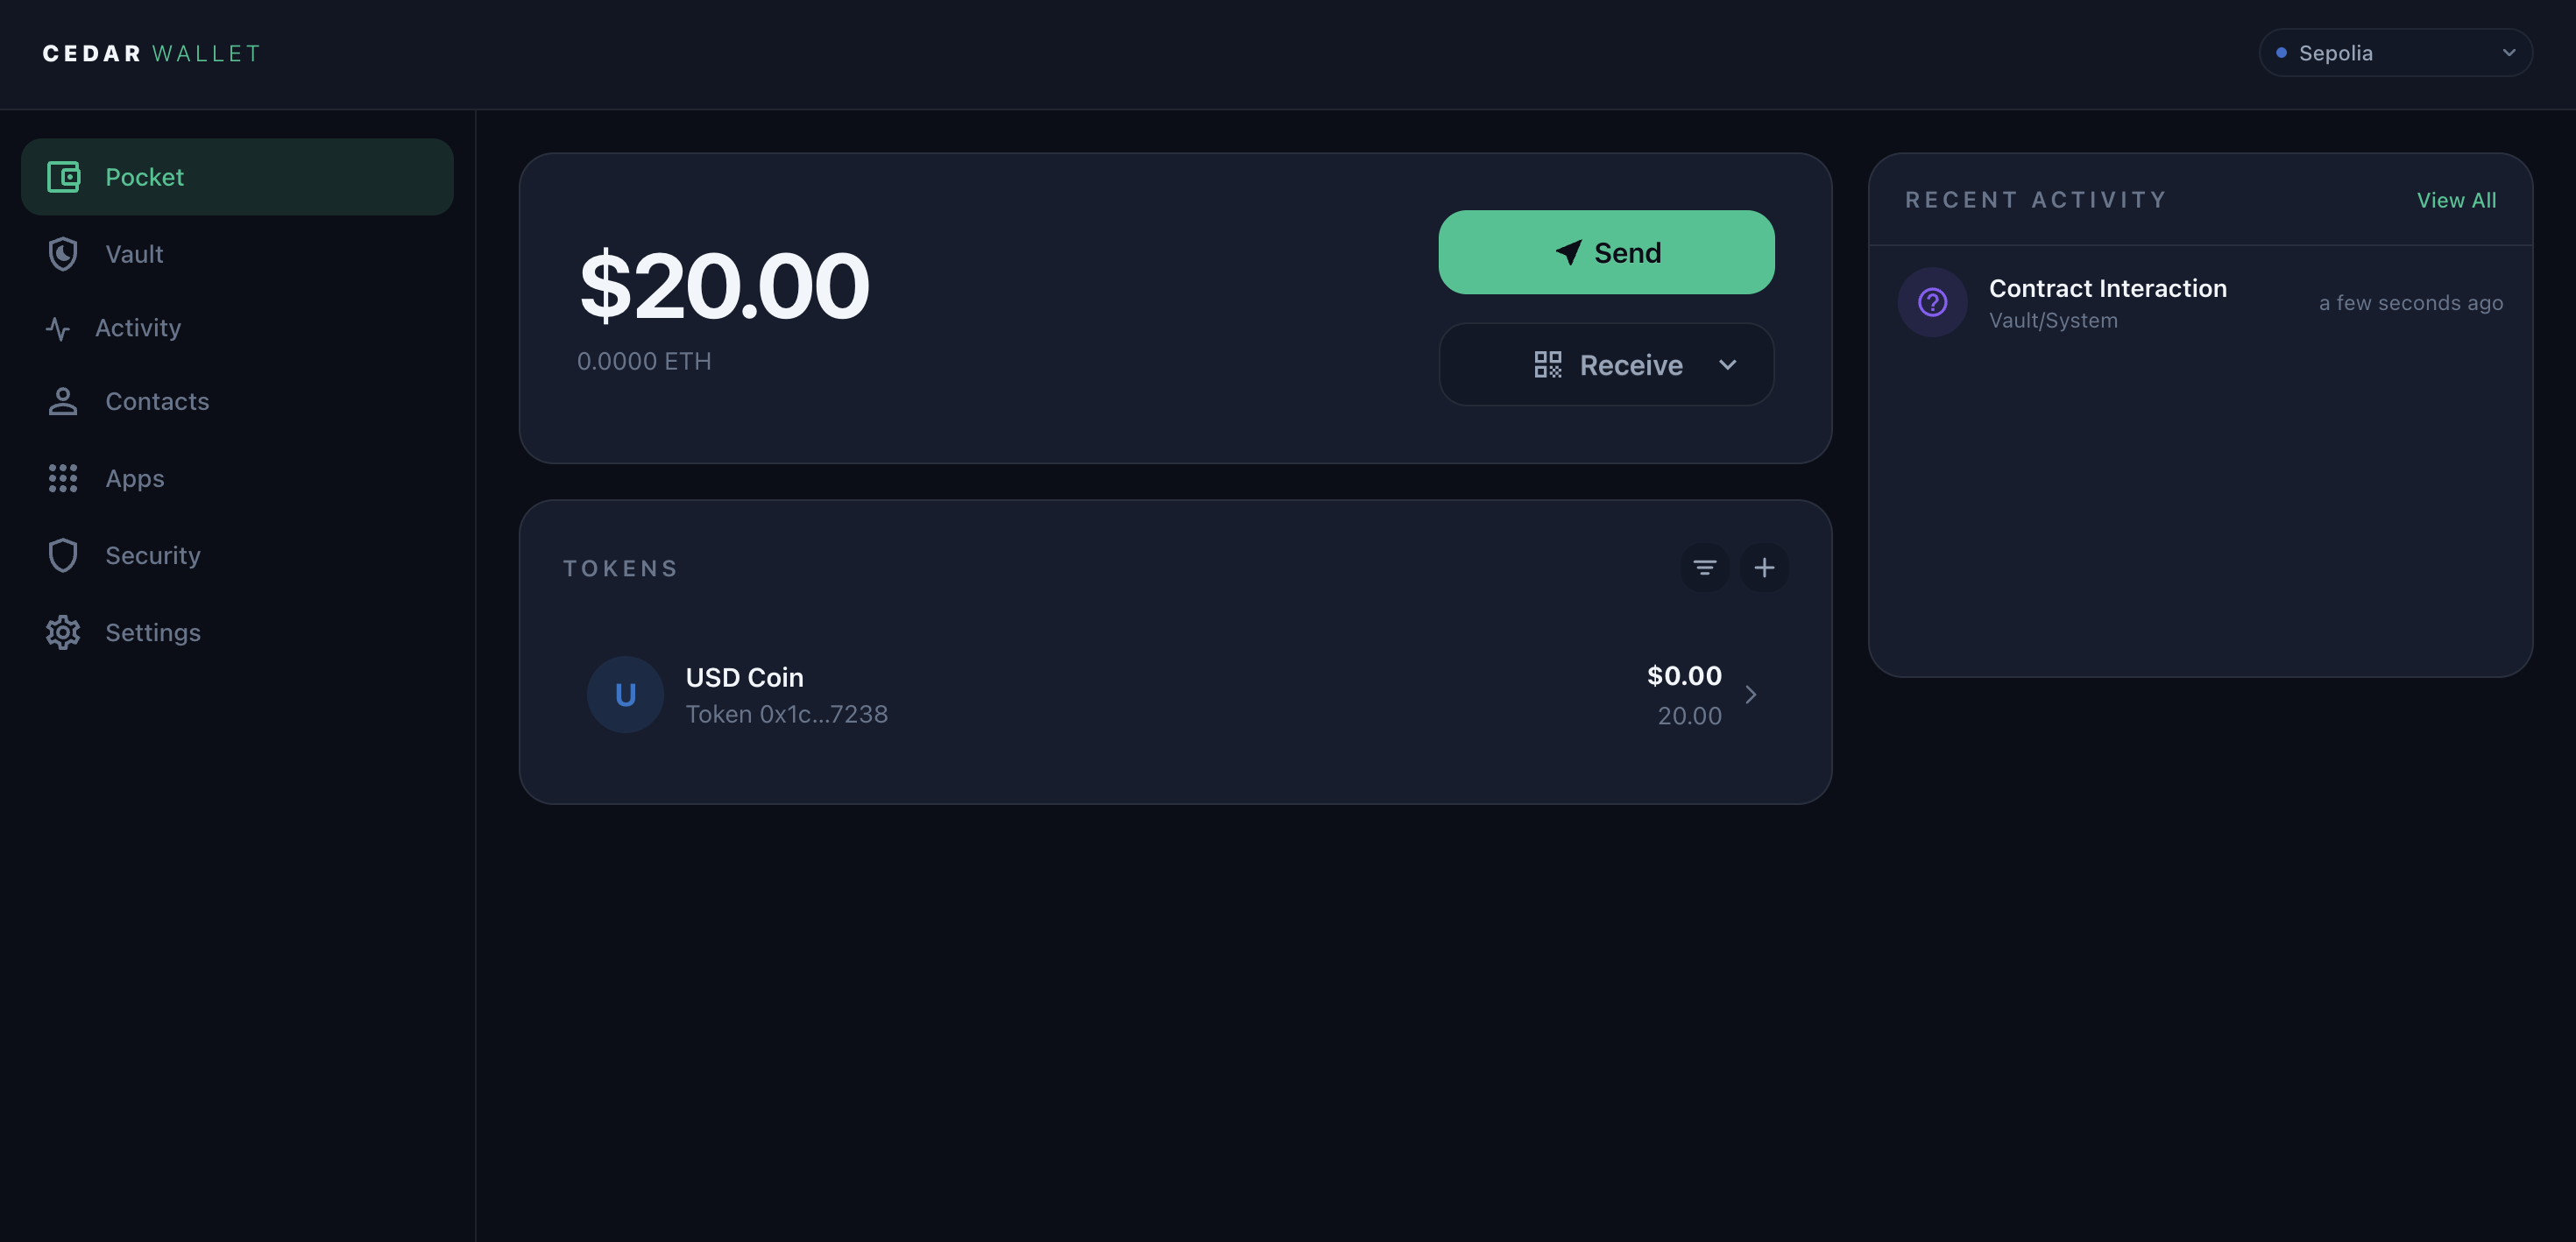
Back in Cedar, wait for the faucet transfer to appear in Recent Activity or for the USD Coin row to show a balance. If nothing changes after a few minutes, refresh Cedar and check again.
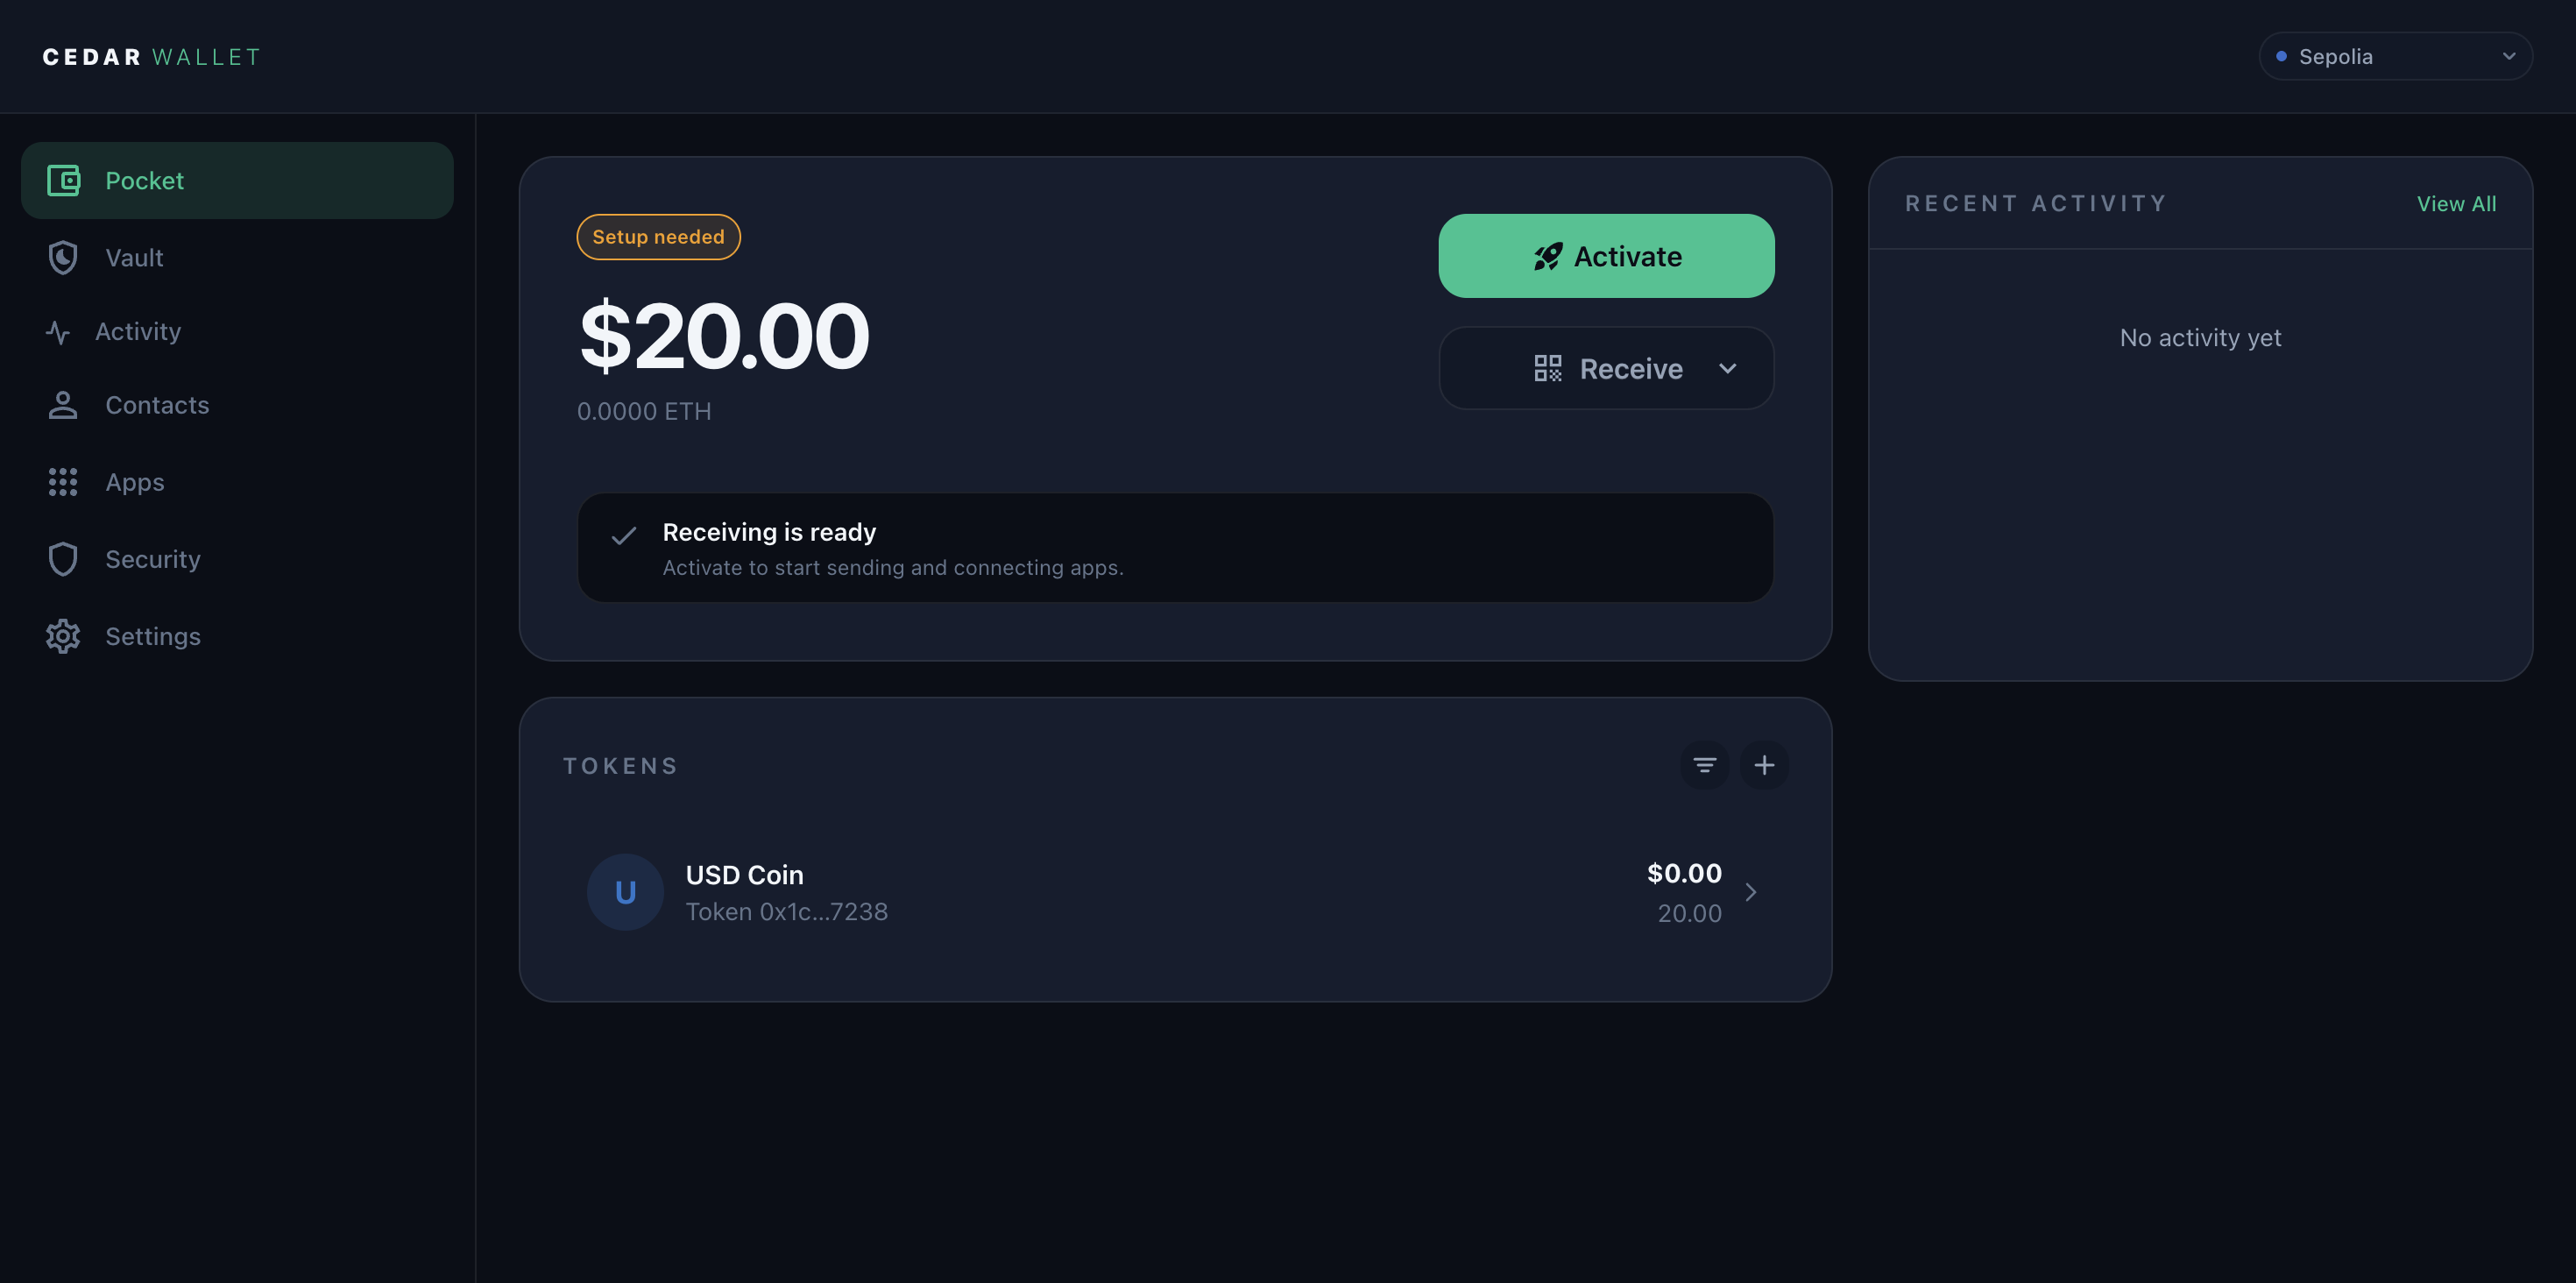
Step 5: Activate Pocket
Choose Activate in Pocket.
Cedar may ask you to confirm with your passkey. Follow the prompt. Activation turns on supported Pocket send and dapp actions.
When activation finishes, Pocket should show Send instead of Activate.
If activation stays pending, keep Cedar open and wait. Do not start another activation unless Cedar says the first one failed.
Step 6: Sign in to the Cedar extension
Open the Cedar extension in the same browser profile.
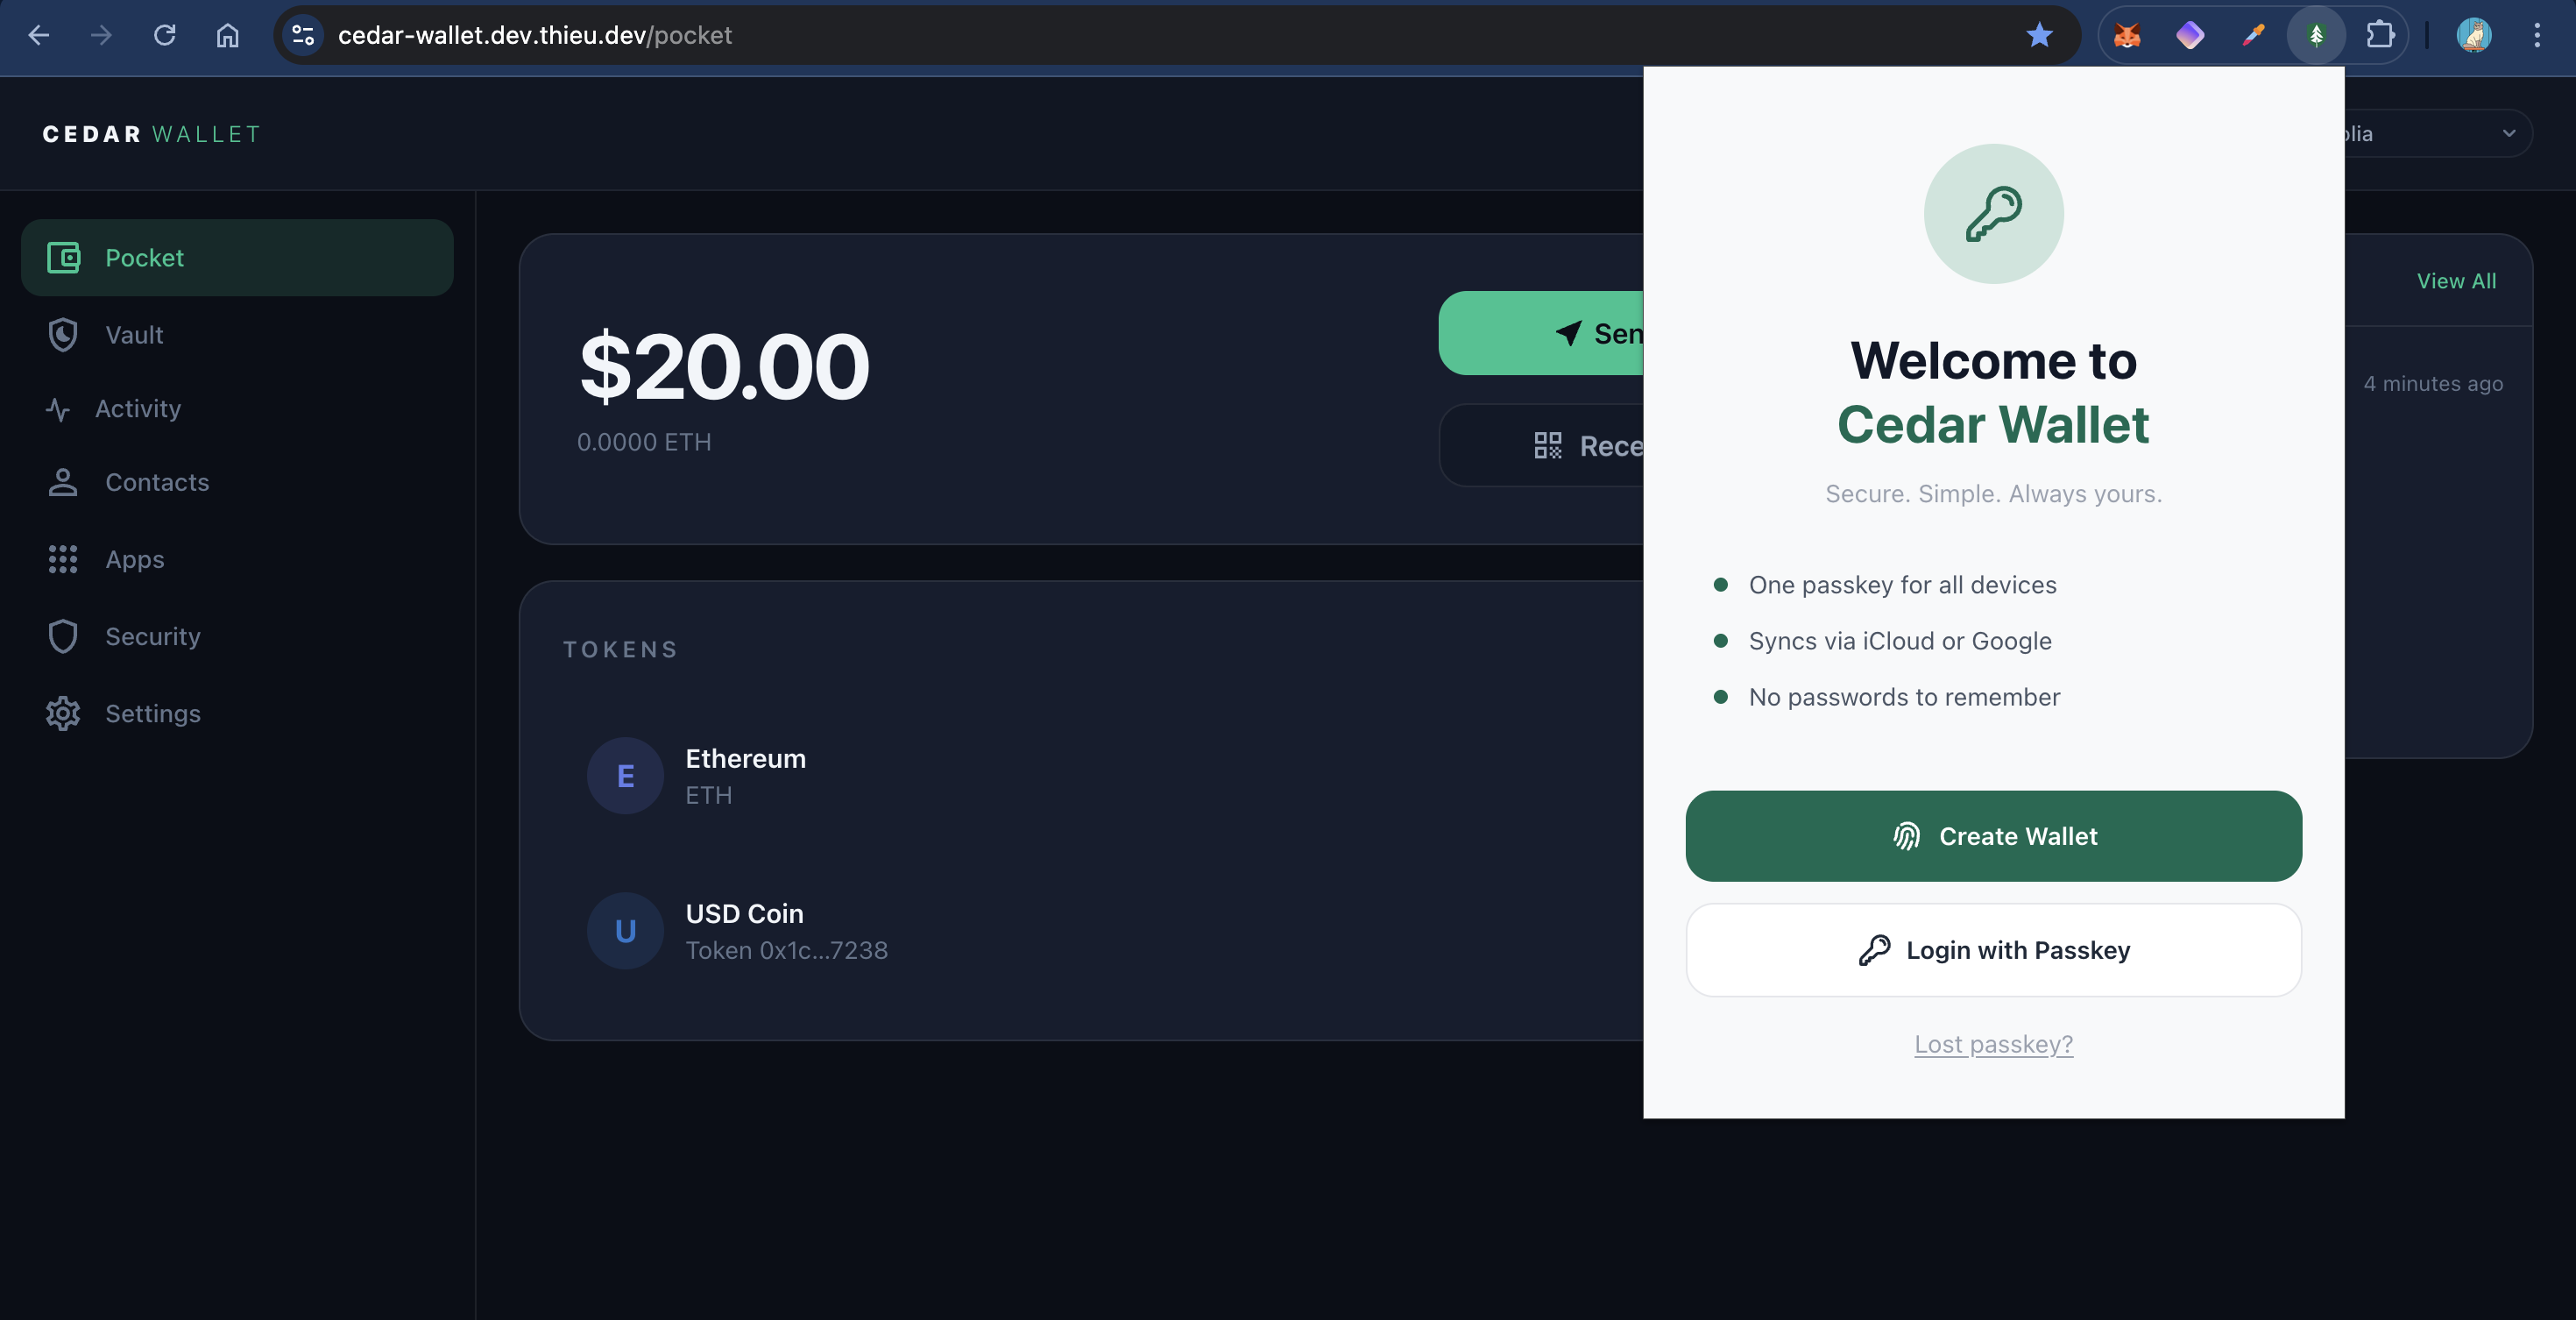
Choose Login with Passkey and use the same Cedar account.
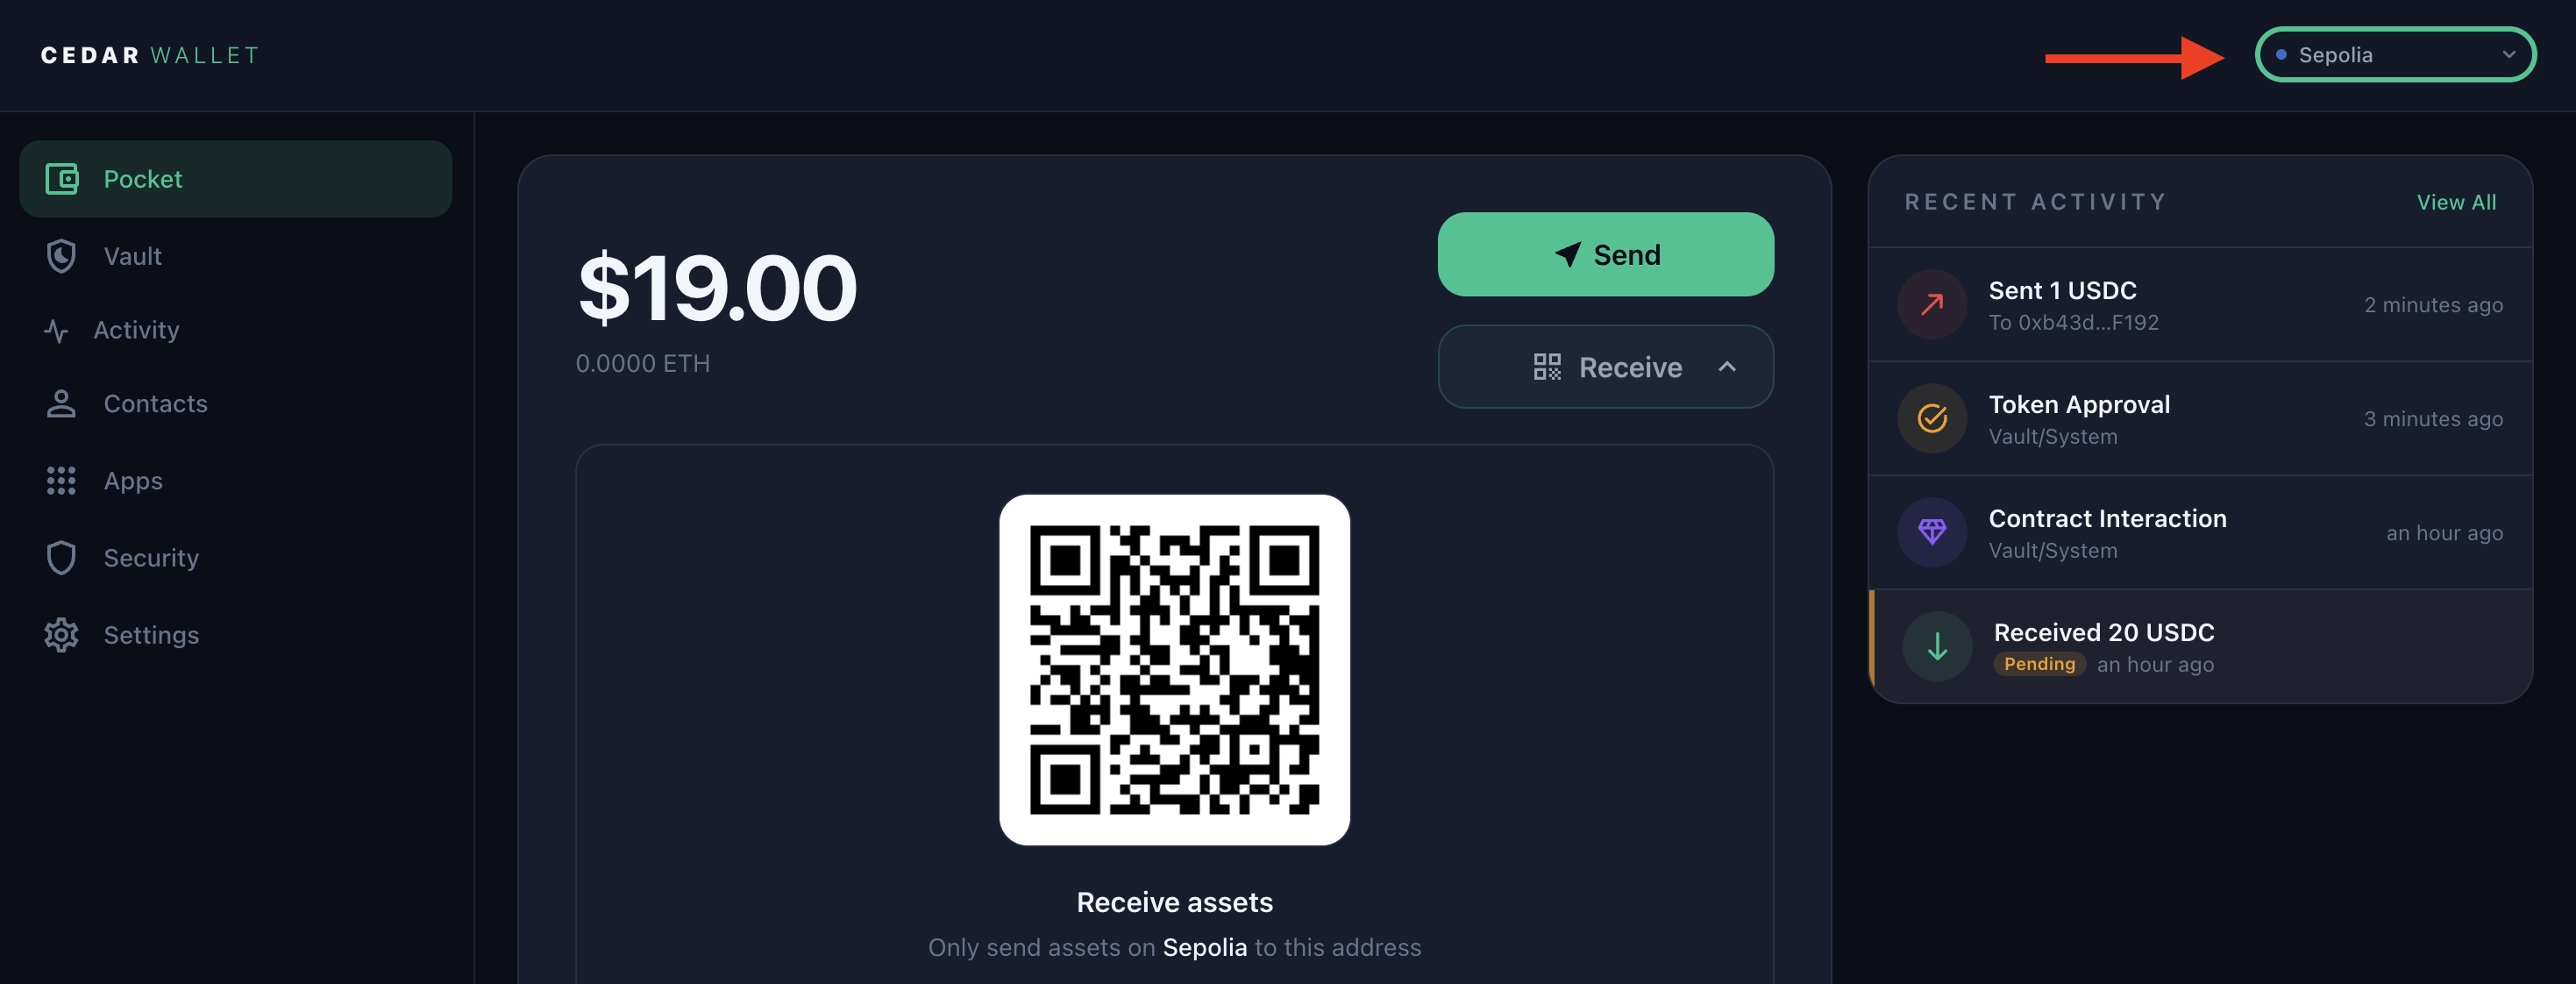
If the extension shows a zero balance, open the menu, choose Network, then choose Sepolia.
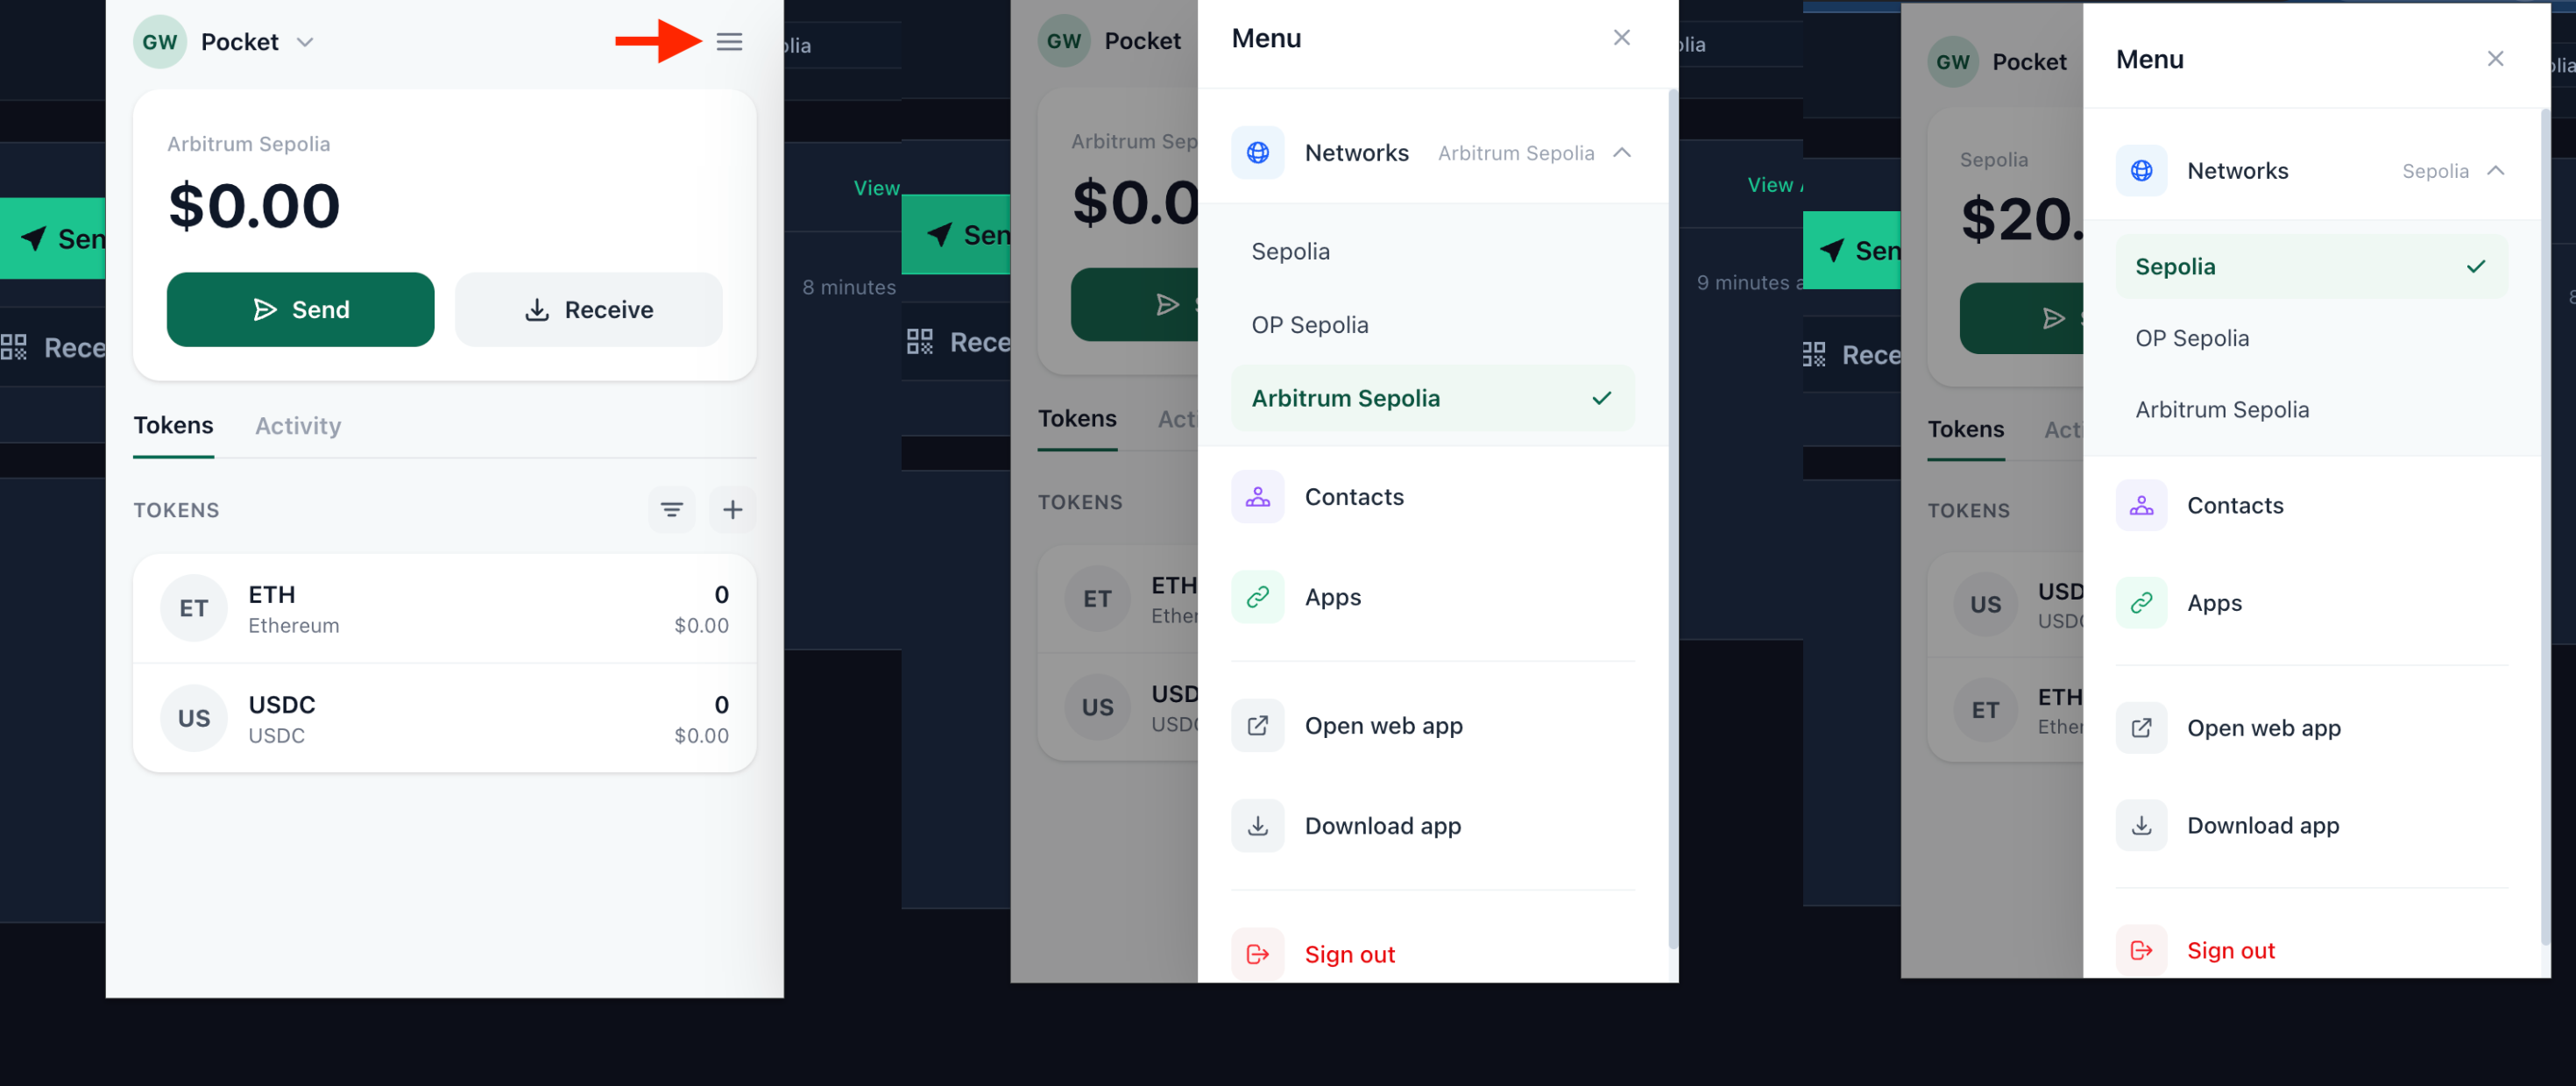
Continue when the extension shows your Cedar account on Sepolia.
Step 7: Connect Cedar to Superbridge
Open Settings in Cedar and choose Try dApps. You can also open Superbridge from the Cedar extension.
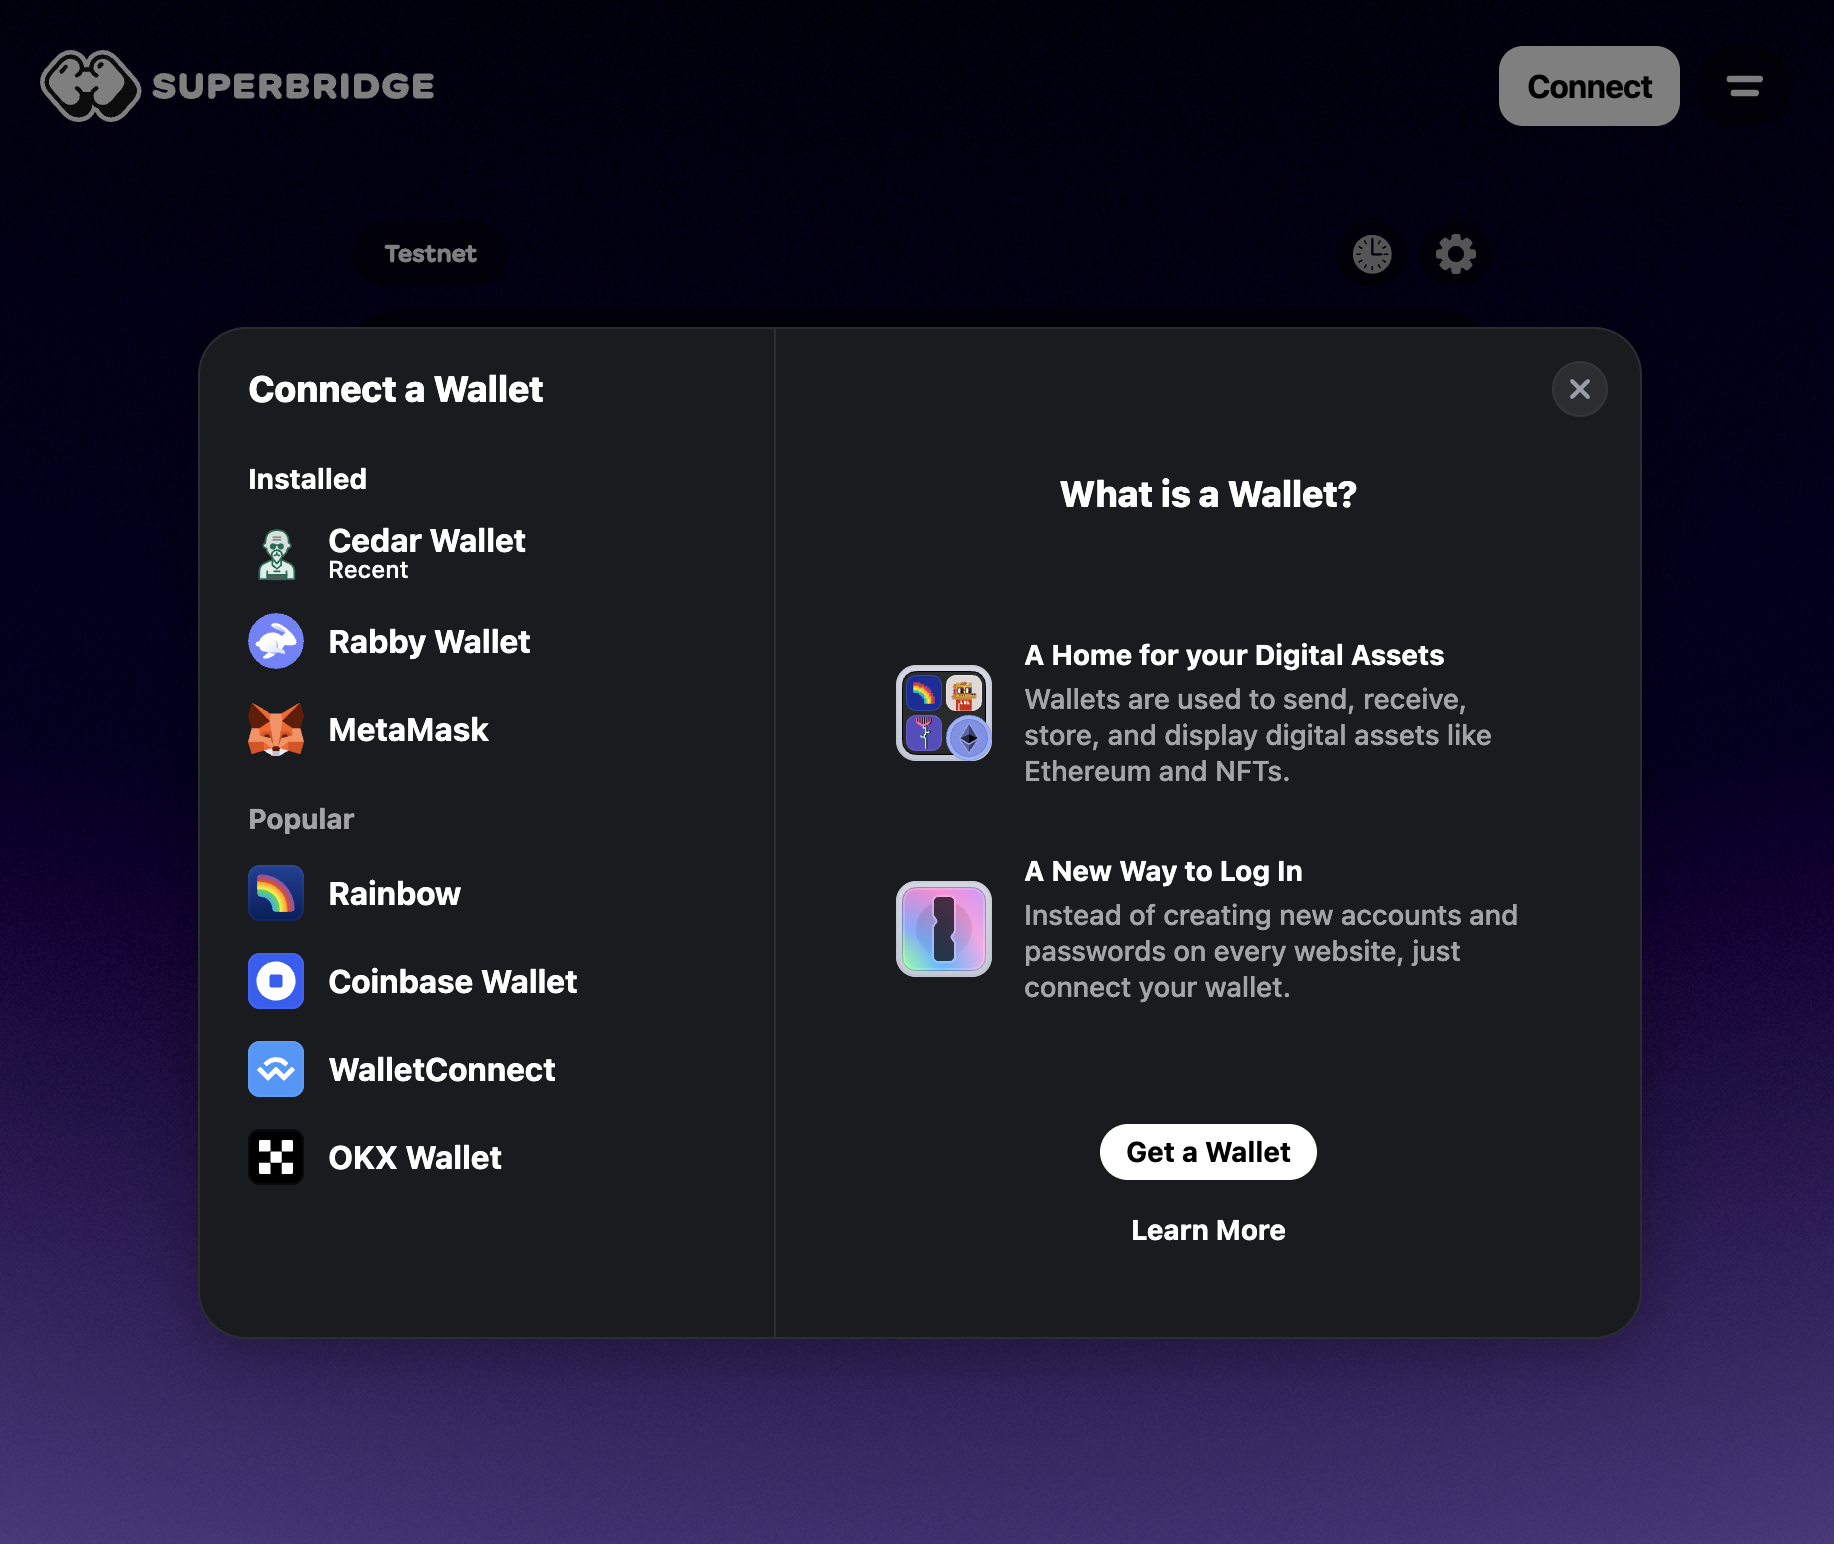
In Superbridge:
- Choose
Connect wallet. - Choose
Cedar Wallet. - Review the Cedar extension request from
superbridge.app. - Choose
Connect app.
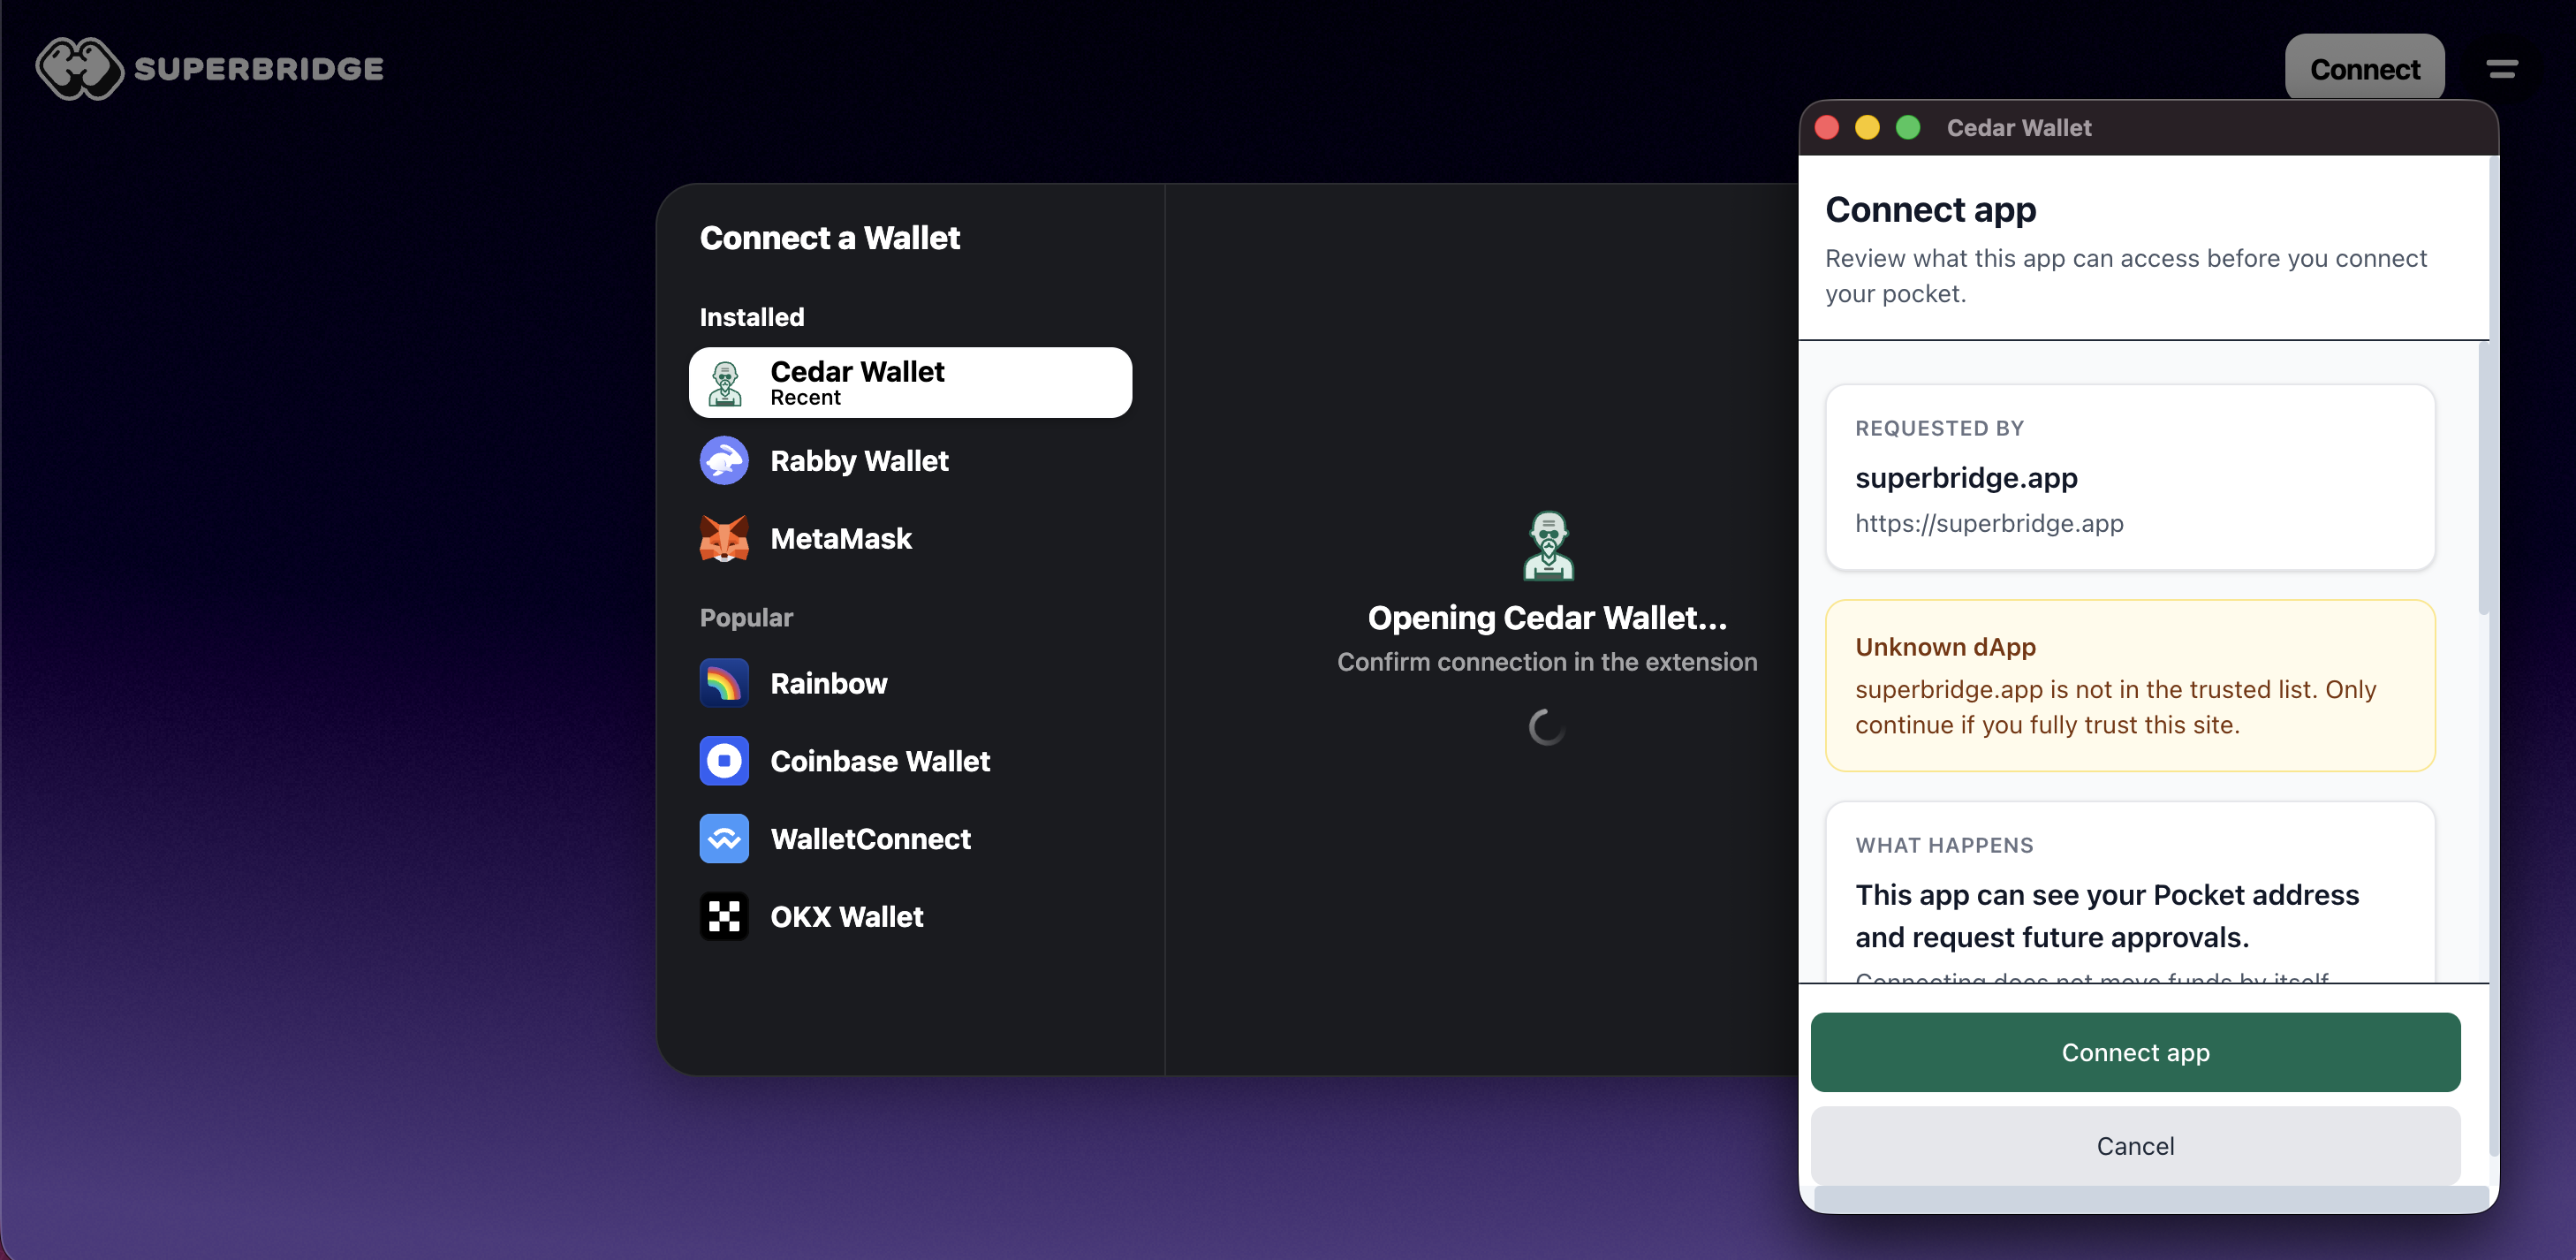
Continue when Superbridge shows Cedar Wallet as connected.
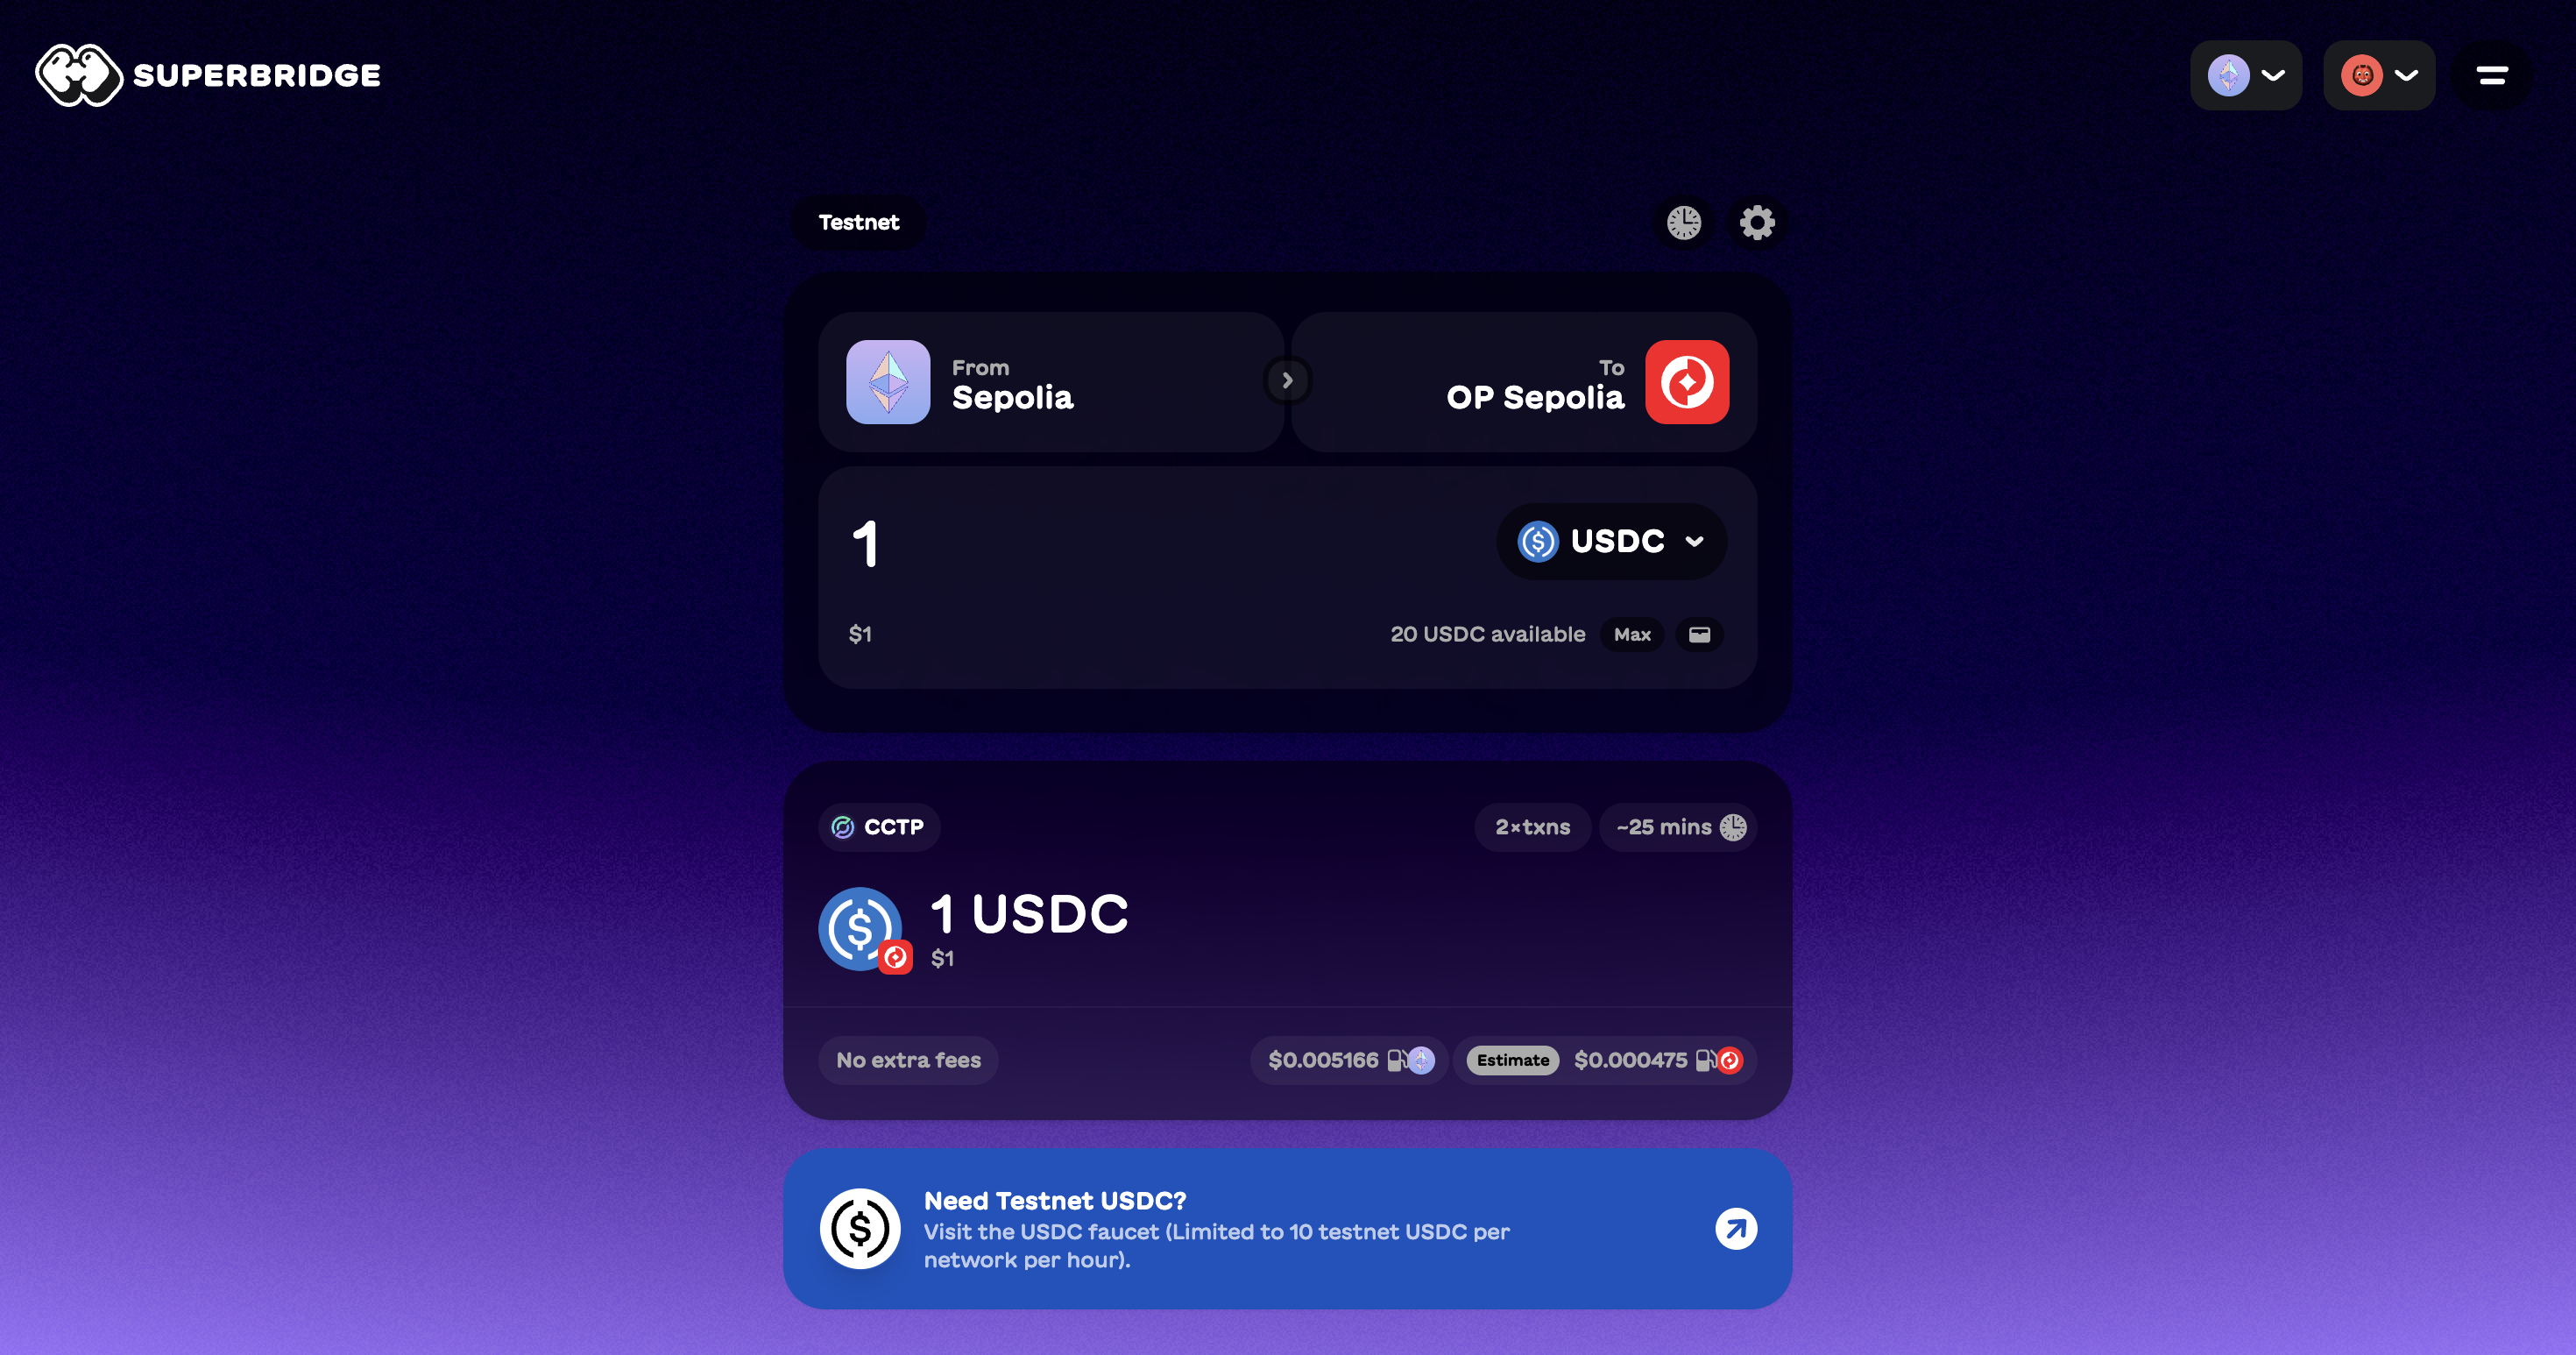
Step 8: Set up the bridge
In Superbridge, set up this route:
- Source network:
Sepolia. - Destination network:
OP Sepolia. - Token:
USDC. - Amount:
1. - Recipient address: your Cedar Pocket address, if Superbridge asks for one.
If Superbridge warns that the recipient looks like a smart contract wallet, treat that as a prompt to check the address carefully. Continue only if the recipient address matches your Pocket address.
Step 9: Submit the bridge
Continue through Superbridge's checks only if the route still says:
SepoliatoOP SepoliaUSDC1- your Cedar Pocket address as the recipient
Superbridge may ask you to approve USDC first, then start the bridge. Review each Cedar request before confirming it with your passkey.

After the Sepolia step finishes, wait for Superbridge's bridge timer. For this demo, the wait is about 25 minutes. You can close the tab and return later.
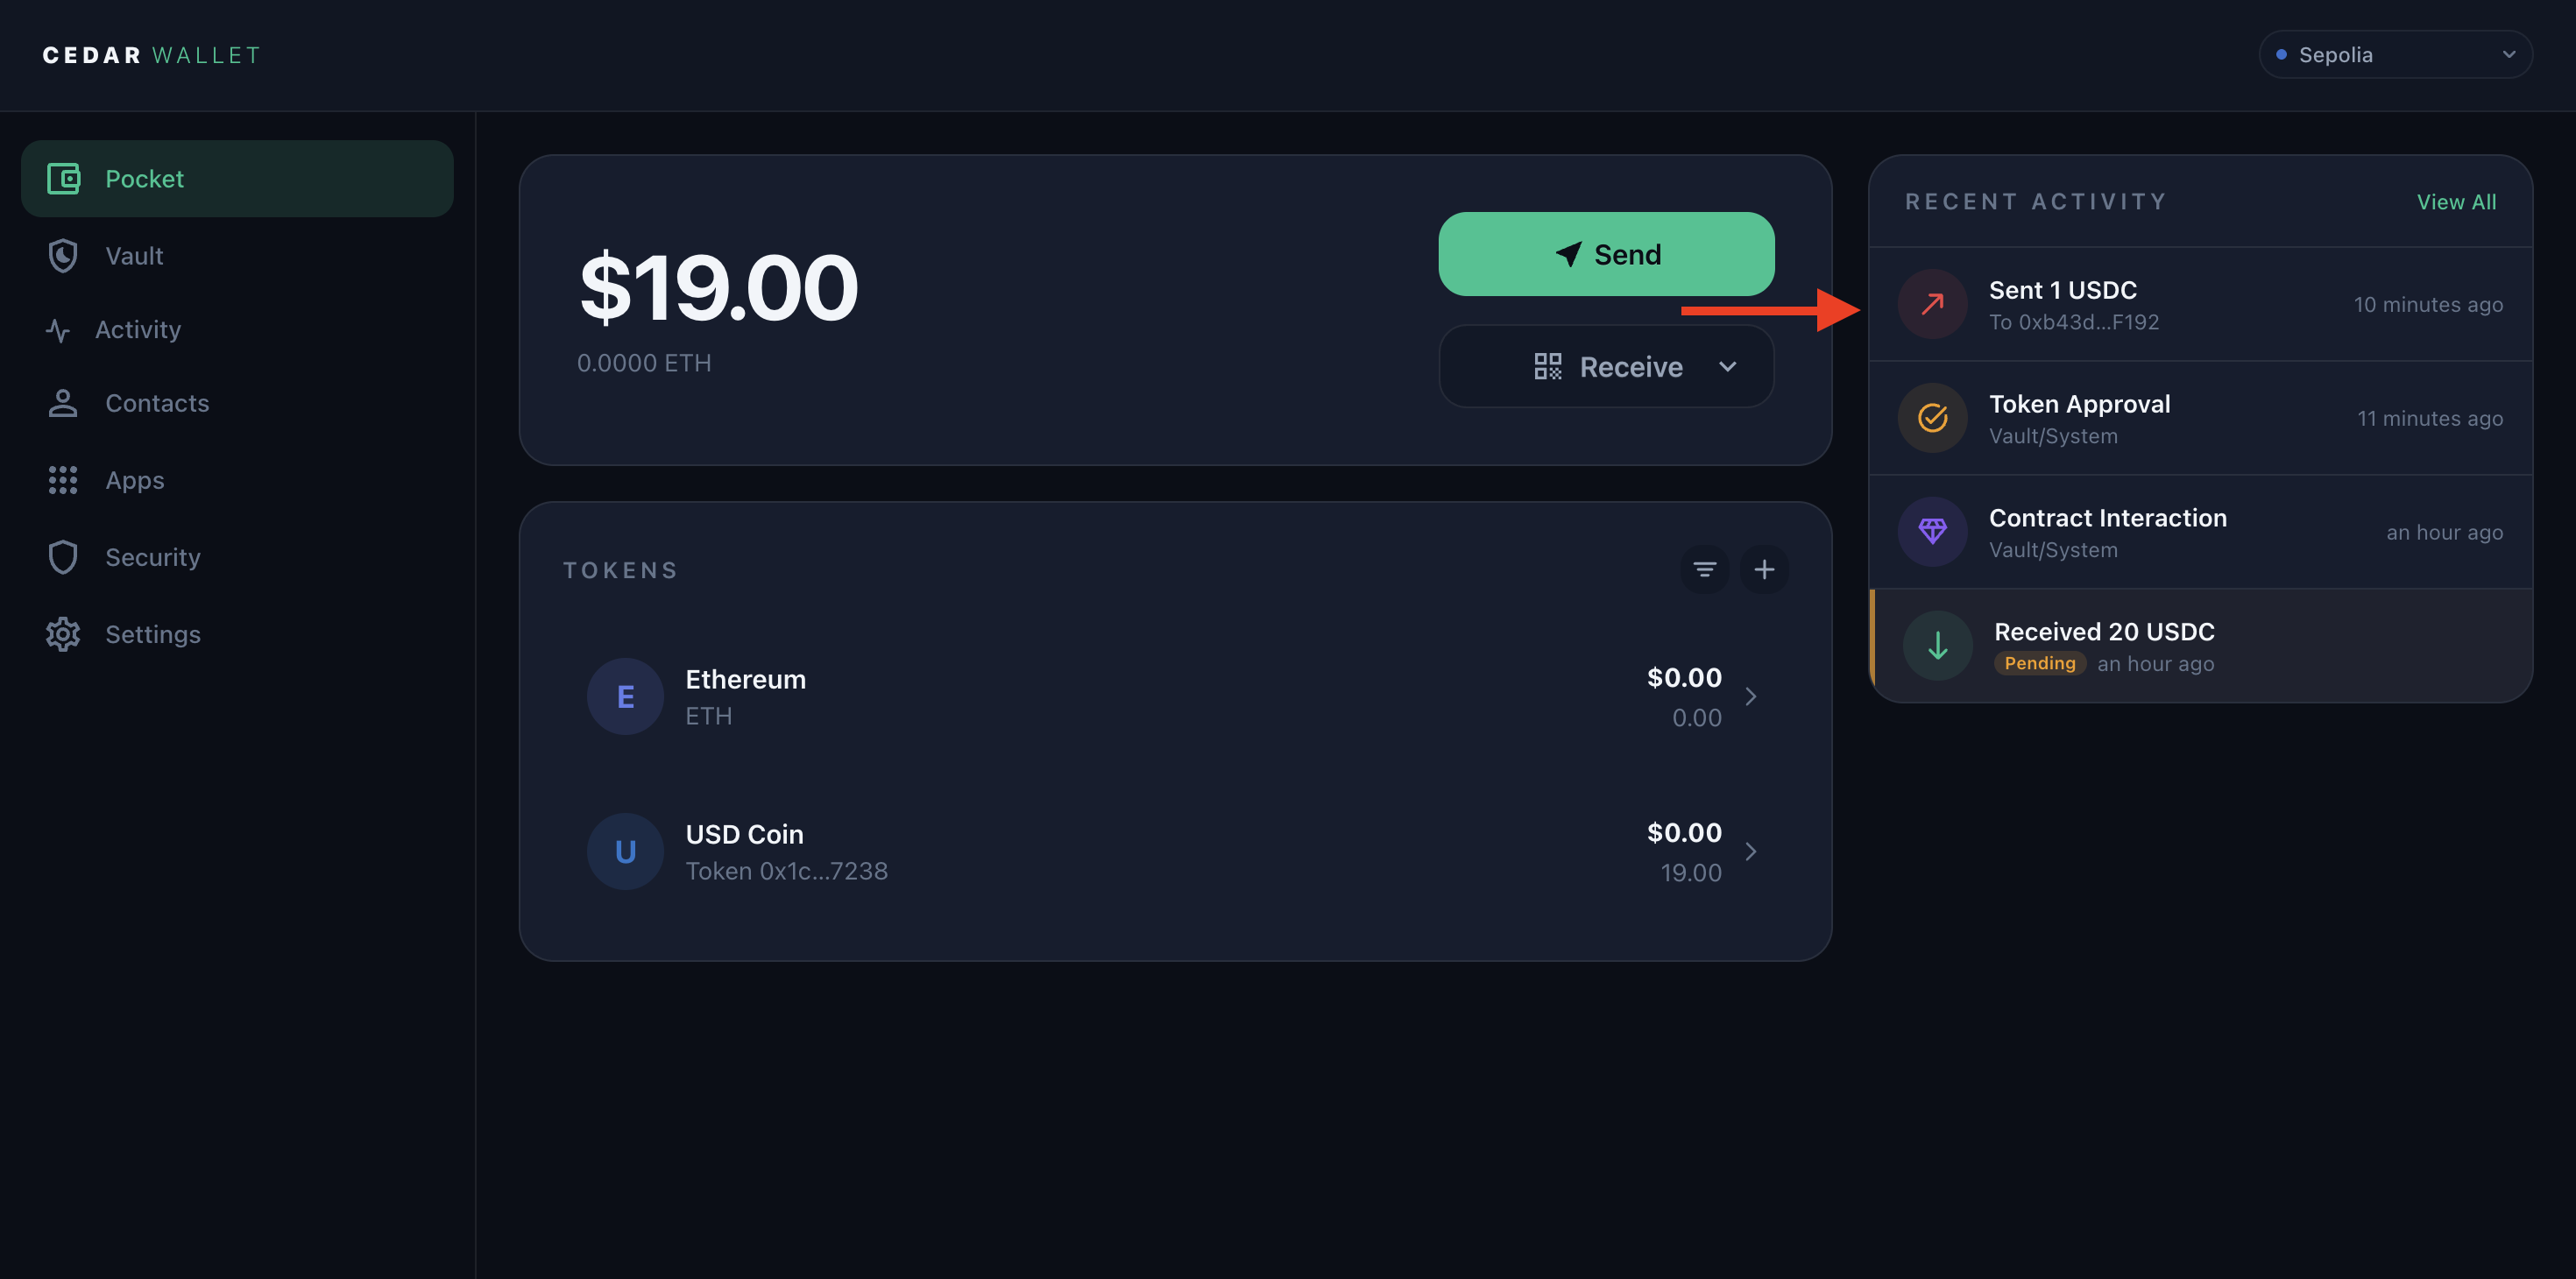
If you started with 20 USDC, Cedar should show about 19 USDC on Sepolia and a Sent 1 USDC activity item.
When Superbridge is ready, choose Mint. Review the final Cedar request and confirm it with your passkey.
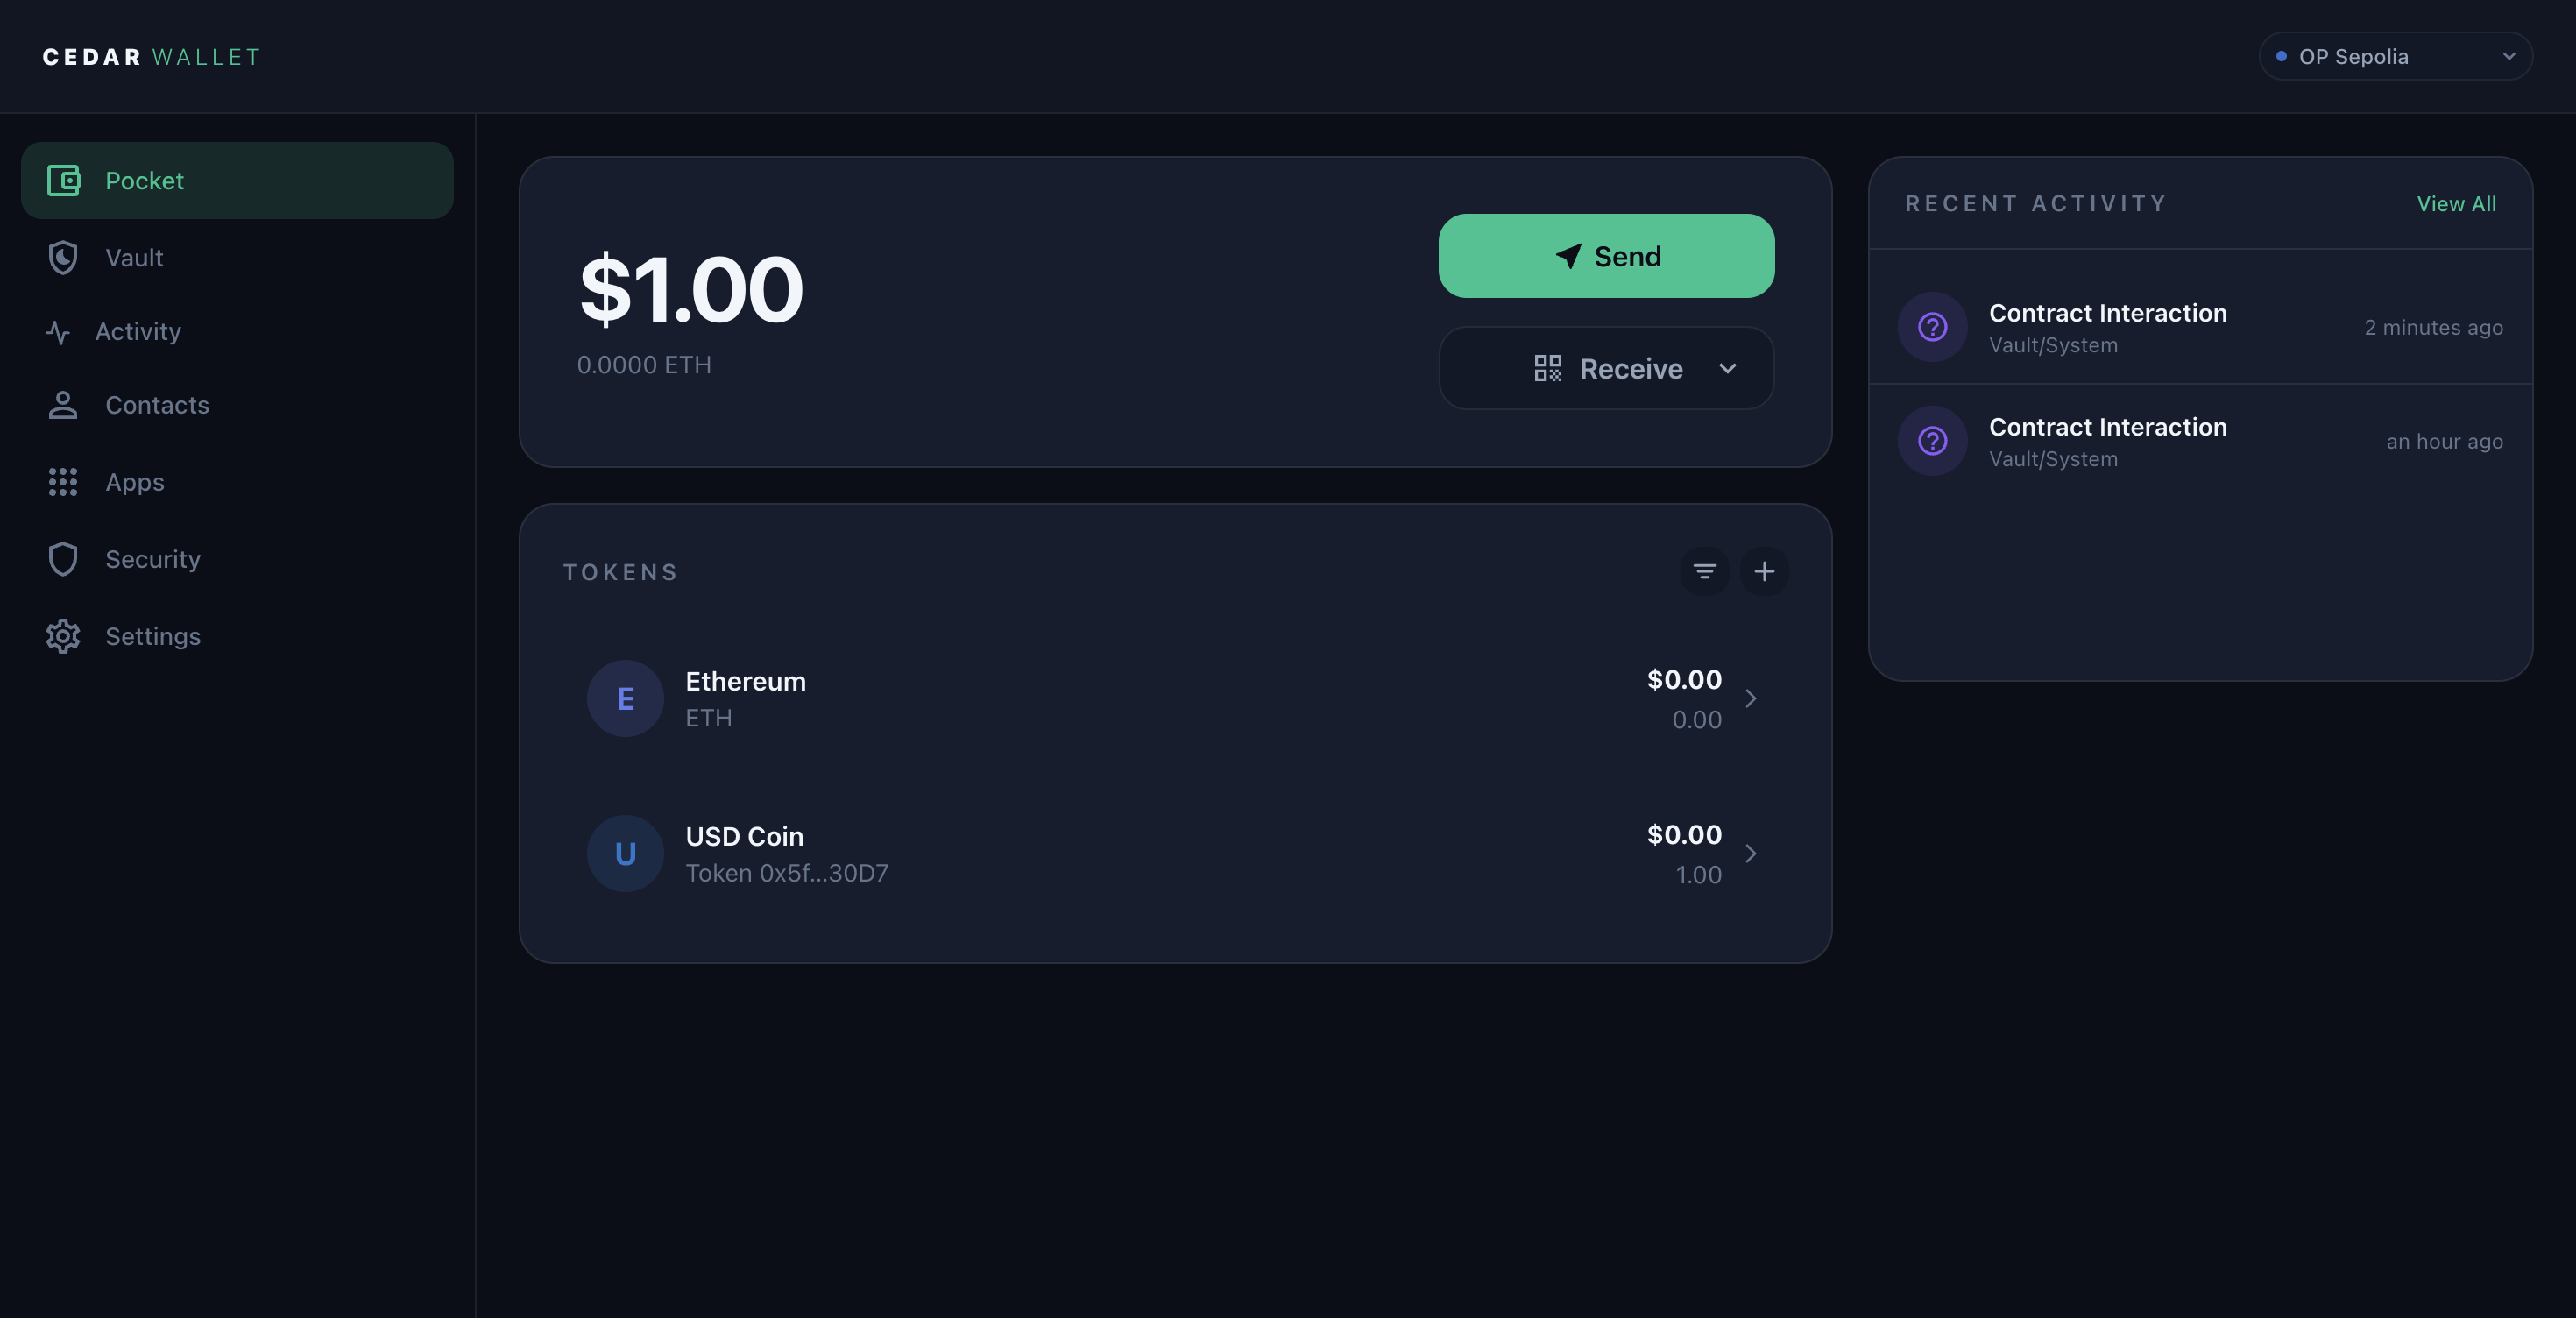
Then return to Cedar, switch the network to OP Sepolia, and check that the bridged USDC appears there.
What Cedar pays for
Cedar sponsors gas for supported Cedar actions in this demo. Gas is the network fee required to submit a transaction. In many crypto apps, you must hold a network token such as ETH for this fee. In this Cedar demo, you should only need test USDC from the faucet.
If something does not work
- If the passkey prompt does not appear, try the same Cedar action again and check that browser prompts are allowed.
- If you cancel a passkey prompt, restart the same step. No funds move before confirmation.
- If you choose the wrong Cedar account, stop and confirm your Pocket address before using the faucet or Superbridge.
- If the faucet rejects the request, check that you selected
Ethereum Sepoliaand pasted the full0xPocket address. - If test USDC does not appear, wait a few minutes, refresh Cedar, and check the faucet request.
- If activation stays pending, wait for Cedar to finish. Do not submit another activation unless Cedar says the first one failed.
- If Superbridge does not show Cedar Wallet, confirm the Cedar extension is installed, enabled, signed in, and in the same browser profile.
- If Superbridge shows the wrong route, change it before submitting.
- If a Cedar request shows an app, network, token, amount, or recipient you do not recognize, reject it.
- If the bridge is pending, return to Superbridge later and continue from the pending step.
You are done when
- Pocket shows test USDC.
- Pocket shows
SendandReceive. - The Cedar extension is signed in.
- Superbridge is connected to Cedar Wallet.
- Superbridge has submitted or completed a
1 USDCbridge from Sepolia to OP Sepolia.
You completed the flow without buying crypto, managing a seed phrase, or paying Cedar gas yourself.